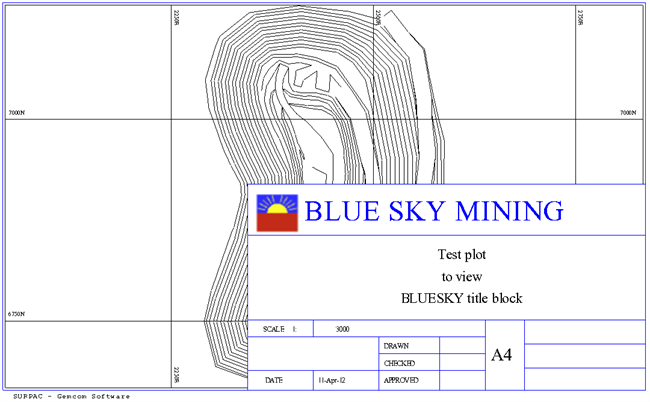
Title Block Definitions
Task: Create a new title block
- Choose Plotting > Plotting sheet setup window.
- Choose Title Blocks > Copy.
- Enter the information as shown, and click Apply.
- Click Apply.
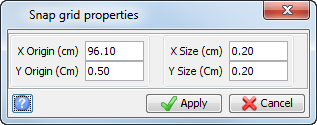
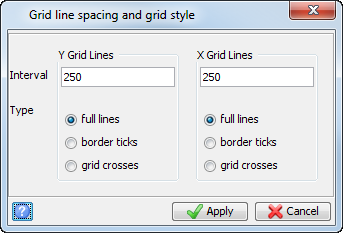
- Choose Title blocks > Snap grid > Properties.
- Enter the information as shown, and click Apply.
- Zoom in to the title block.
- Choose Title Blocks > Edit > Delete item.
- Click on the text GEOVIA, to delete it.
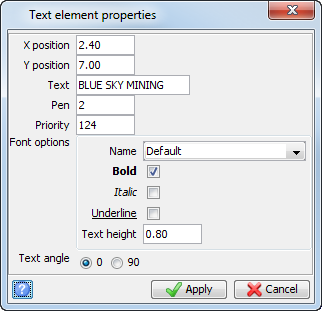
- Choose Title Blocks > Create > Text.
- Click in the top section of the title block where you want the text to appear.
- Enter the information as shown, and click Apply.
- Choose Title Blocks > Create > Image.
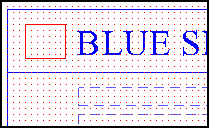
- Click and drag a roughly square-shaped area to the left of the text "BLUE SKY MINING".
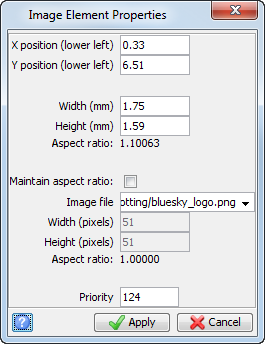
- Enter the information as shown, and click Apply.
- Choose Title Blocks > Snap grid > Hide.
- Choose Title Blocks > Save.
- Choose File > Close.
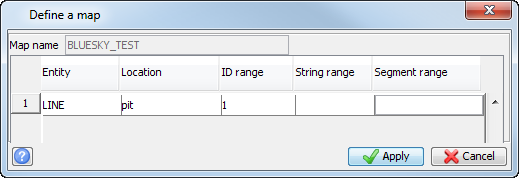
- Choose Plotting > Map > New.
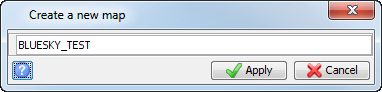
- Enter the information as shown, and click Apply.
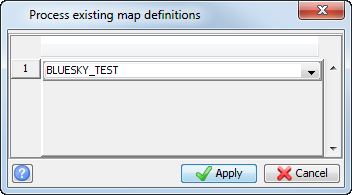
- Enter the information as shown, and click Apply.
- Choose Plotting > Process > Map.
- Enter the information as shown, and click Apply.
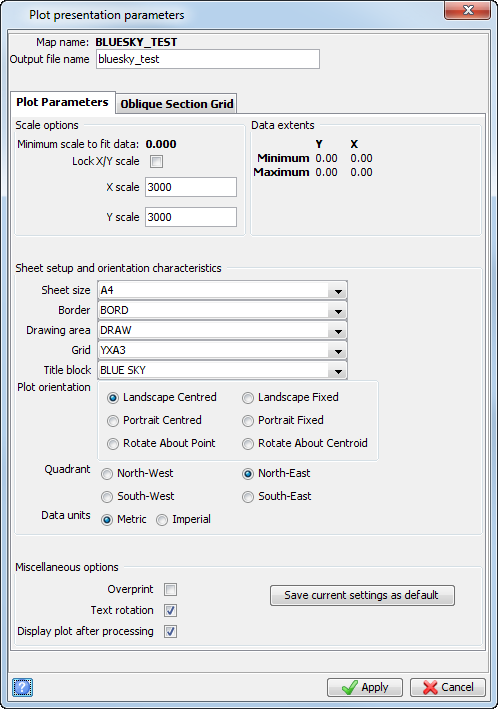
- Enter the information as shown, and click Apply.
- Enter the information as shown, and click Apply.
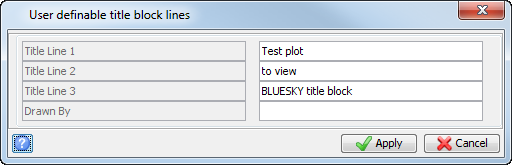
- Enter the information as shown, and click Apply.
 Note: You will make a copy of an existing title block as it will save setting up new elements for items such as lines and prompt items.
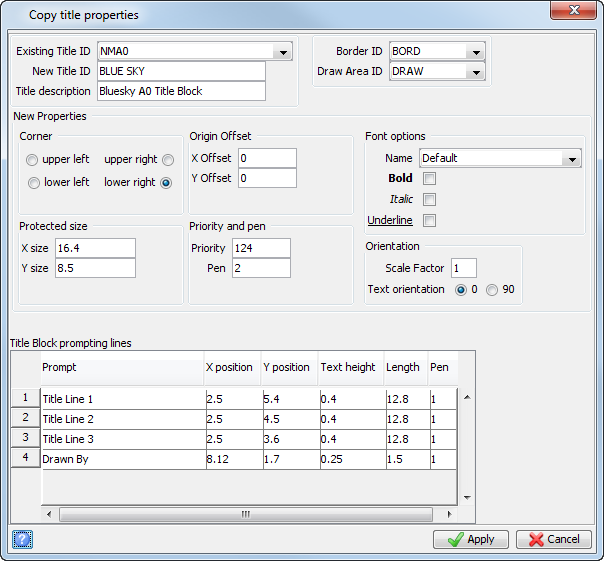
Note: The only items you will need to type in are the new title ID and title description.
You will use this to help align items on the title block.
Note: Leave some space on the left for the logo.
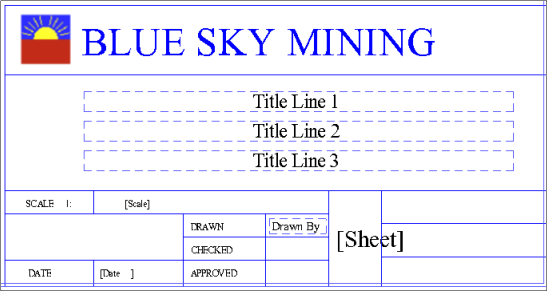
The plot and title block are displayed.