


Creating contours
Task: Create DTM contours – file-based
- Click Reset graphics
 .
. - Choose Surfaces > Contouring > Contour DTM file.
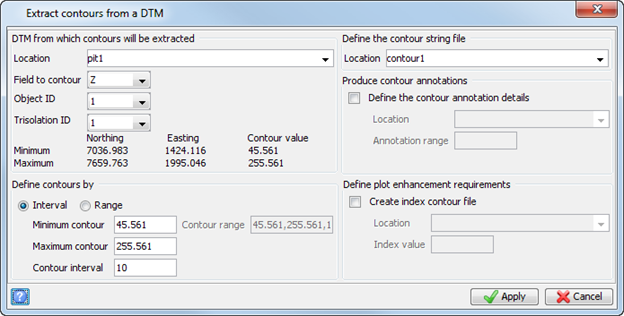
- Enter the information as shown, and click Apply.
- Open pit1.dtm in Graphics.
- Open contour1.str in Graphics.
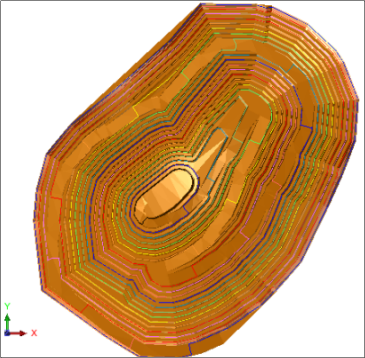
The plan view of the pit is displayed.
 Note: To see all of the steps performed in this task, run 08a_create_dtm_contours_file_based.tcl. You need to click Apply on any forms presented.
Task: Create DTM contours – graphics-based
- Click Reset graphics .
- Open pit1.dtm in Graphics.
- Choose Surfaces > Contouring > Contour DTM in layer.
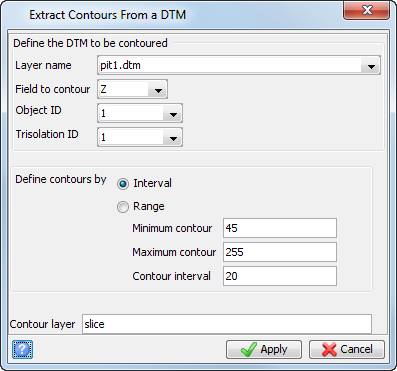
- Enter the information as shown, and click Apply.
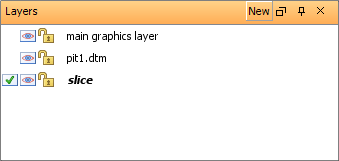
- Make slice the active layer.
- Save the data to pitcon5.str.
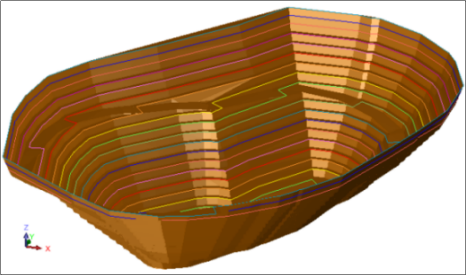
The pit and contours are displayed.
Note: To see all of the steps performed in this task, run 07c_section_pit_by_elevation.tcl. You need to click Apply on any forms presented.
Task: Create index contour file with annotations
- Click Reset graphics .
- Choose Surfaces > Contouring > Contour DTM file.
- Enter the information as shown, and click Apply.
- Open annotate.str in Graphics.
- Choose Display > Hide everything.
- Choose Display > Point > Attributes.
- Enter the information as shown, and click Apply.
- Open index1.str in Graphics.
- Open contour1.str in Graphics.
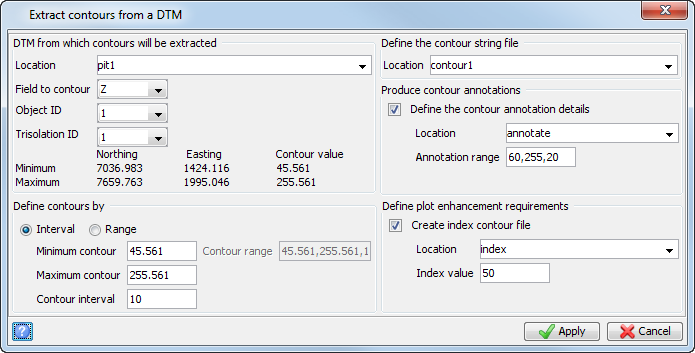
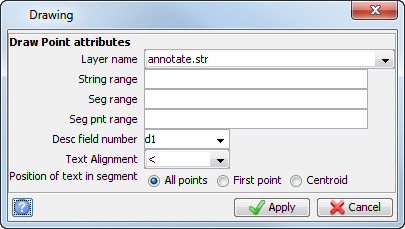
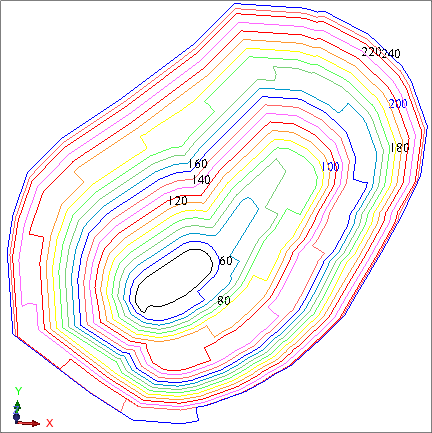
The pit contour with annotations is displayed.
Note: To see all of the steps performed in this task, run _08b_create_index_contour_file_with_annotations.tcl. You need to click Apply on any forms presented.