


Adding or Updating Tokens Using an HTML File
Before you begin, obtain written token update information by visiting the GEOVIA support website or contacting your local GEOVIA support office.
When you add or update tokens using an HTML file, you copy the tokens from the file, and paste the tokens into Licence Manager. Updating tokens does not affect or change any previously defined classes.
 Tip: Before you add or update the tokens, print a summary report of the current classes, by choosing Report > Classes.
Add or Update Tokens Using an HTML File
- Insert the dongle into a port on the computer.
 Caution: If you have a parallel dongle, and a printer is connected to the parallel port, turn on the printer. Do not connect backup tape units or other similar devices to a parallel dongle. If you must use such a device, first remove the parallel dongle. Devices such as these can damage the dongle. Any dongle damaged by such actions incurs a replacement cost.
 -
Start Licence Manager.
The Licence Manager window opens.
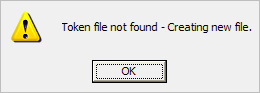
If you are starting Licence Manager for the first time, the following information message appears.
- Click Service > Stop.
- Click Service > Uninstall.
- Choose Edit > New Class.
The Create/Delete Class form appears.
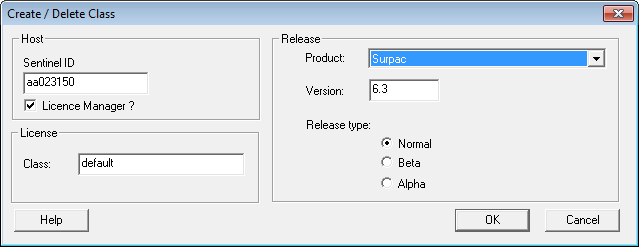
- Select the Product and the Version of that product.
- Ensure Release type is set to Normal.
- In Class, leave the value as default, or if you are setting up different licences for different groups of users, type a class name.
For more information on classes, see Licence Classes. - Click OK.
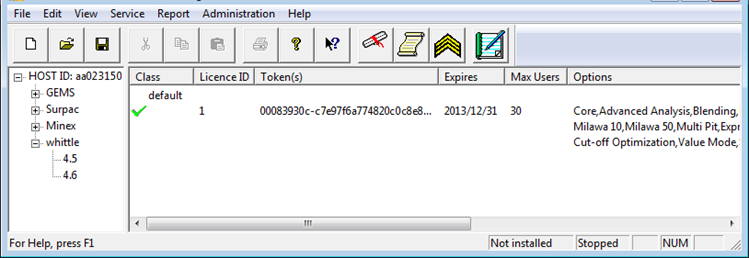
The right pane of the Licence Manager window is updated with new token information.
- Choose Edit > New Token.
- In the Token Number field, type the token number provided, and click OK.
A token for Licence Manager has at least 24 digits in total. For example, 191e86aa89-744a8c9e8c1b363e.Tip: To reduce typing errors, copy the token number from the HTML file, and paste it to the Token Number field. - Save the changes to the tokens file.
- To install the Licence Manager service, choose Service > Install.
The server status in the status bar changes fromNot installedtoInstalled - Click OK.
- To start the service so that all licenses are distributed on the network, choose Service > Start.
The server status in the status bar changes fromStoppedtoStarted. In addition, the service will automatically start when the computer starts. - Click OK.