


Plotting
Task: Save holes for plotting
- Choose Ring design > Save holes and sections for plotting.
- Enter the information as shown, and click Apply.
- Enter the information as shown, and click Apply.
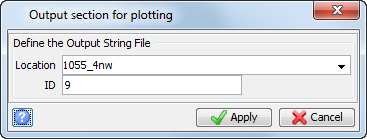
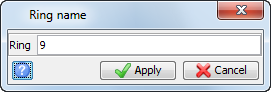
The file 1055_4nw9.str is saved to the work directory.
String files saved with Save holes and sections for plotting contain:
|
Data |
String Numbers |
|---|---|
|
Drill Holes |
1,999 |
|
Drives |
Drive string number + 1000 |
|
Stopes |
Stope string number + 2000 |
|
Rig Pivot Points |
32000 |
The following string numbers are used in plotting. In this example, 1055_4nw9.str will contain:
|
Data |
String Numbers |
|---|---|
|
Drill Holes |
1,17 |
|
Drives |
1001, 1002 |
|
Stopes |
2003 |
|
Rig Pivot Points |
32000 |
Task: Create a plot
- Choose Plotting > Entity > Import.
- Enter the information as shown, and click Apply.
- Close the log file.
- Choose Plotting > Map > Import.
- Enter the information as shown, and click Apply.
- Close the log file.
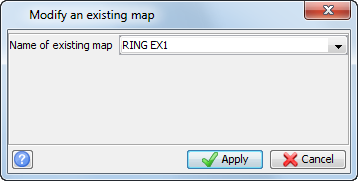
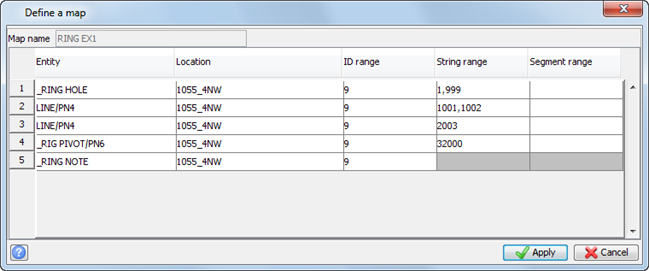
- Choose Plotting > Map > Edit.
- Enter the information as shown, and click Apply.
- View the contents of the map you are processing (ringex1), and then click Apply.
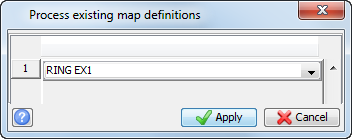
- Choose Plotting > Process > Map.
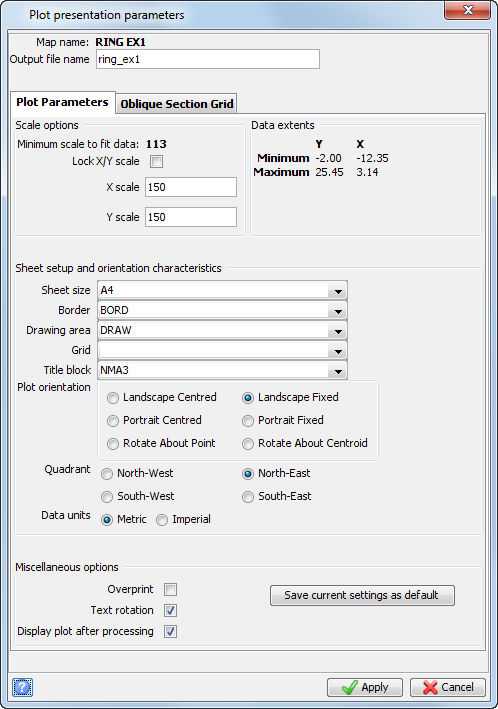
- Enter the information as shown, and click Apply.
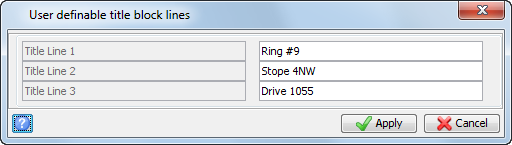
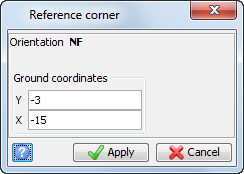
- Enter the information as shown, and click Apply.
- Enter the information as shown, and click Apply.
- Enter the information as shown, and click Apply.
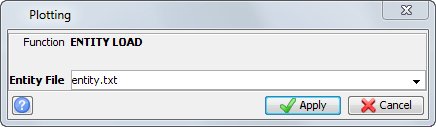
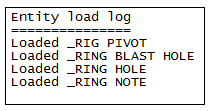
The results of the function will be written to the file entity_load.log.
Entity load log is displayed in your default text editor.
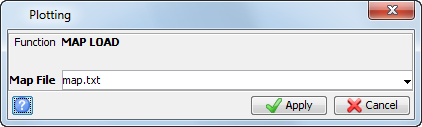
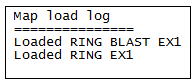
The results of the function is written to the file map_load.log.
Map load log is displayed in your default text editor.
The Plot Preview window opens, and the plot is displayed.
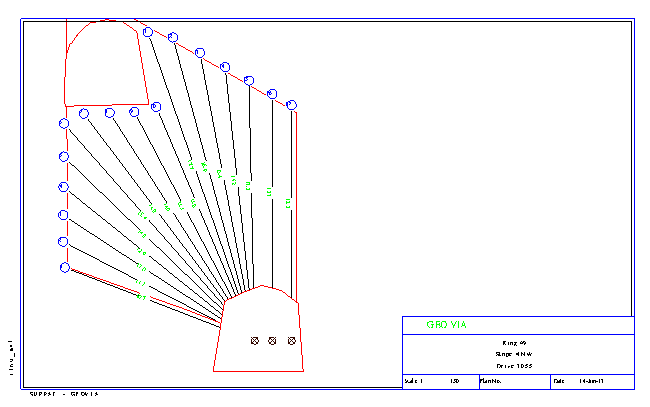
 Tip: This is only one manner of presenting ring design holes. You can also edit the entity and map definitions provided, or create your own to customise your plots.
 Note: To see all of the steps performed in this chapter, run 06_plotting.tcl. You need to click
Apply on any forms presented.
Note: To see all of the steps performed in this chapter, run 06_plotting.tcl. You need to click
Apply on any forms presented.