Task: Create polygon using Drafting tools
When you create a polygon, you can use the drafting tools to apply more precision in the placement of points and lines.
- Choose Edit > Segment > Delete, and click on the polygon you created in the previous task.
- Select Customise > Default Preferences.
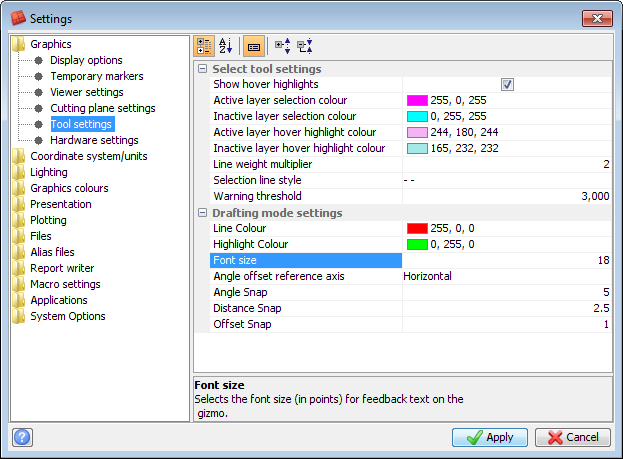
- Under Graphics > Tool settings, enter the following, and click Apply.
- Font size. 18
- Angle offset reference axis. Horizontal
- Angle snap. 5
- Distance Snap. 2.5
- Click the Create new points icon on the Digitise toolbar.
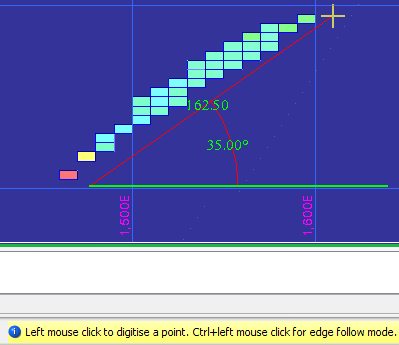
- Digitise a point below the blocks and press 5 to activate drafting mode.
- Digitise another point at the top right of the blocks at 35 degrees from the first point.
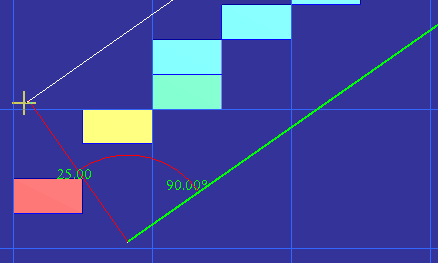
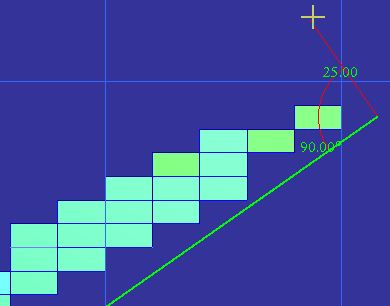
- Digitise another point at 90 degrees from the last point, and a distance of 25.
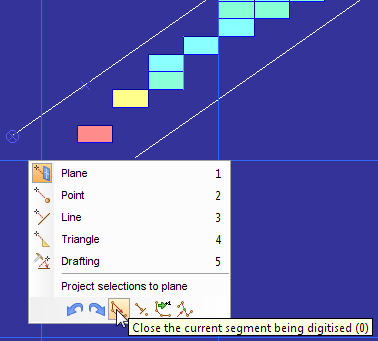
- Press CTRL and click on the long line under the blocks to activate Edge Follow mode.
- Digitise a point that is 90 degrees from the lowest point in this polygon, and a distance of 25 from that point.
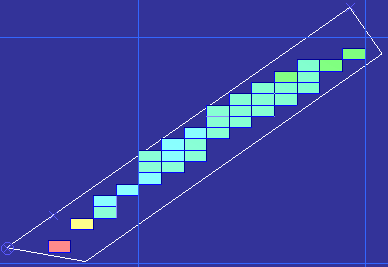
- Digitise another point, and then close the segment.

As you move the mouse you can see the distance to the next point and the angle to it. Because of the settings you entered, you can create the next point at any number of degrees that is a multiple of 5. This feature can help you enforce a minimum stope angle.
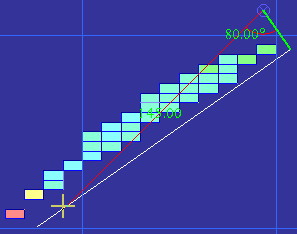
You can use Edge Follow mode to ensure that a line is parallel to another line.