


Triangulating using control strings
Task: Create control strings using the digitiser
- Click Reset graphics
 .
. - Open mod2.dtm in Graphics.
- Choose Display > Hide everything to erase all strings and objects.
- Choose Display > Strings > With string numbers.
- Enter the information as shown, and click Apply.
- Right-click in Graphics, and choose Snap mode > Point.
- Choose Create > Digitise > Start new string.
- Enter the information as shown, and click Apply.
- Choose Create > Digitise > New point.
- Digitise string 100 as shown between strings 5 and 10.
- Choose Create > Digitise > Start next string.
- Choose Create > Digitise > New pointand digitise string101.
- Choose Create > Digitise > Start next string.
- Choose Create > Digitise > New pointand digitise string102.
- Press ESC.
- Choose Solids > Triangulate > Using control strings.
- Click on String 100.
- Next, click String 101 and then click String 102.
- Press ESC.
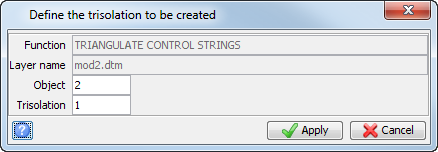
- Enter the information as shown, and click Apply.
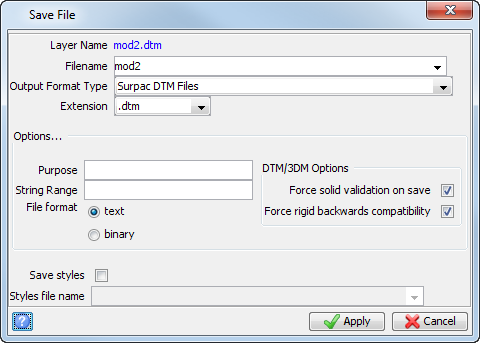
- Choose File > Save > string/DTM to save this part of the model as mod2.dtm.
- Enter the information as shown and click Apply.
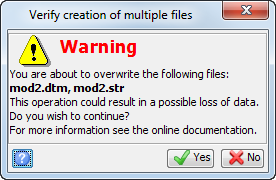
- When you see the following warning, click Yes.
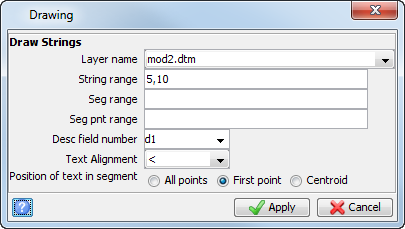
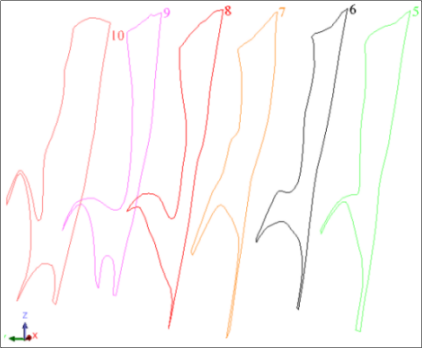
Strings 5 to 10 are displayed.
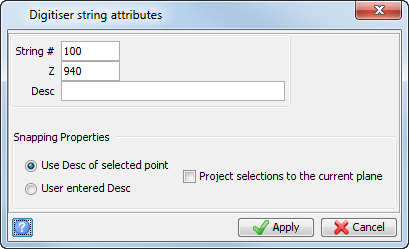
Each point digitised will snap to an existing point in each polygon.
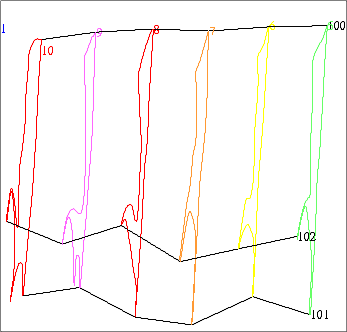
 Tip: When selecting each control string graphically, click on the string midway between the polygons. This will ensure that the control string is correctly selected.
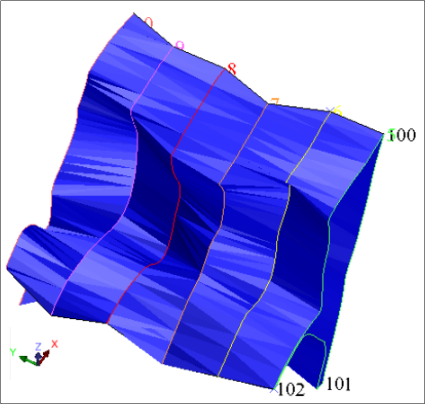
The part of the solid which uses control strings is displayed.
 Note: If you want to run manually through the material again, you will need to copy
original_mod2.dtm, and save it as
mod2.dtm.
Note: If you want to run manually through the material again, you will need to copy
original_mod2.dtm, and save it as
mod2.dtm.
Note: To see all of the steps performed in this task, run
_02b_create_solid_control_strings.tcl. You need to click Apply on any forms presented.