


Triangulating using segment to a point
Segment to a point is a useful function for creating the ends of your ore body. In the following tasks you will learn about:
- creating points to triangulate using the digitiser
- creating a solid using Segment to a point
Task: Create points to triangulate using the digitiser
- Click Reset graphics
 .
. - Open mod5.dtm in Graphics.
- Choose Display > Hide everything to erase all strings and objects.
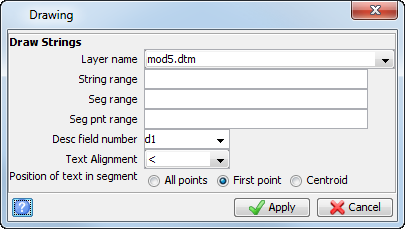
- Choose Display > Strings > With string numbers.
- Enter the information as shown, and click Apply.
- Click Section view
 to put the data in section view.
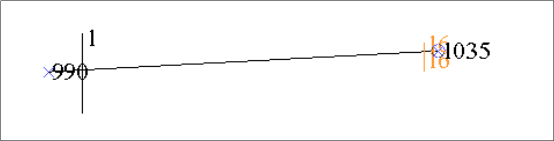
 - Move the pointer to the centre of string 1 as shown.
- Move the cursor to the centre of string 16 as shown.
- Click Zoom to data extents
 to zoom to the extents of the data and return the data to plan view.
 - Zoom out to create space for the end points.
- Choose Create> Digitise > Properties.
- Enter the information as shown, and click Apply.
- Choose Create > Digitise options > Enter attributes for each point.
- Choose Create > Digitise > New point.
- Click the southern most point.
- Enter the information as shown, and click Apply.
- Click the northern most point.
- Enter the information as shown, and click Apply.
- Click the final point on string 1001.
- Enter the information as shown, and click Apply.
- Press ESC to finish digitising.
- Click Long section view
 to view the data in long section view.
 - Choose Display > Point > Attributes.
- Enter the information as shown, and click Apply.
- Choose Display > Strings > With string numbers.
- Click Zoom to data extents to zoom to the extents of the data and return the data to plan view.
- Save mod5.dtm.
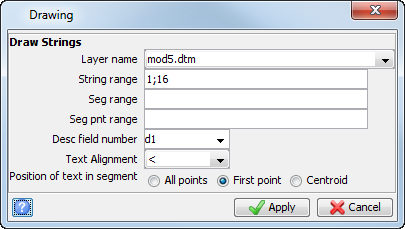
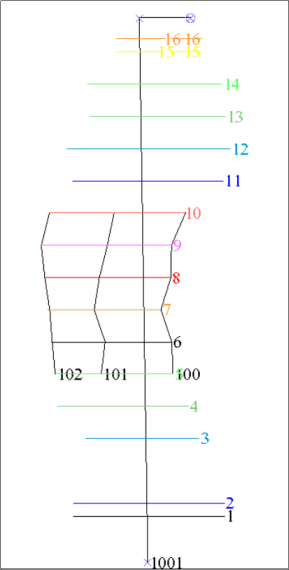
The strings are displayed.
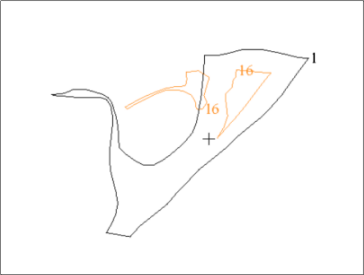

Notice that the elevation (z) of the centre point of string 1 is at approximately 990m.
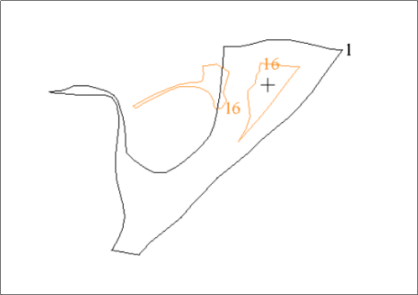

Notice that the elevation (z) of the centre point for string 16 is at approximately 1035m.
Digitise string 1001 as shown to use as end points for the model.
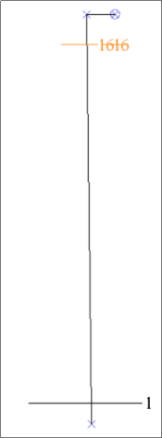
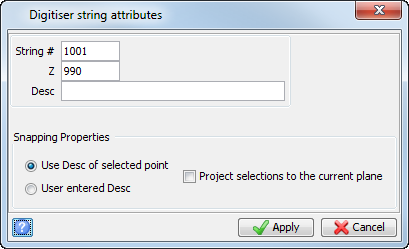
You will now use the digitiser to create the end points for triangulation.
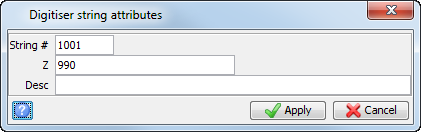
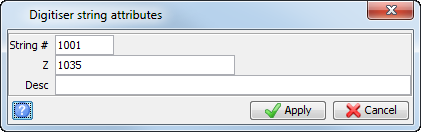
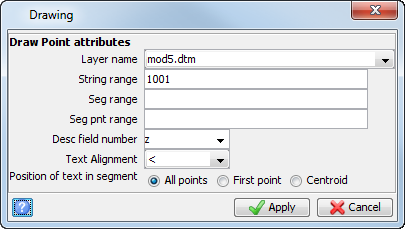
The data is displayed as shown.
Enter the information as shown, and click Apply.
The strings are displayed as shown.
Task: Create a solid using segment to a point
- Click Reset graphics .
- Open mod5.dtm in Graphics.
- Choose Display > Hide everything to erase all strings and objects.
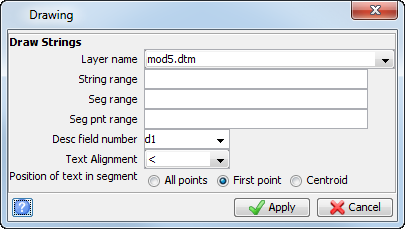
- Choose Display > Strings > With string numbers.
- Enter the information as shown, and click Apply.
- Display the northern end of the model as shown.
- Choose Solids > Triangulate > Segment to a point.
- Enter the information as shown, and click Apply.
- Click a point of string 1001 (for example, the one you just digitised).
- Click the matching segment of string 16.
- Press ESC.
- Choose Solids > Triangulate > Segment to a point.
- Enter the information as shown, and click Apply.
- Click the second Northern point of string 1001.
- Click the second matching segment of string 16.
- Press ESC.
- Change to the view as shown.
- Choose Solids > Triangulate > Segment to a point.
- Enter the information as shown, and click Apply.
- Click the southern point of string 1001, and click string 1.
- Press ESC to finish the triangulation.
- Click Zoom to data extents.
- Choose Display > All layers.
- Choose Solids > Triangulate > Between segments.
- Enter the information as shown, and click Apply.
- Click a segment on string 15.
- Click the corresponding segment on string 16.
- Press ESC.
- Choose Solids > Triangulate > Between segments.
- Enter the information as shown, and click Apply.
- Click the other segment on string 15.
- Click the corresponding segment on string 16.
- Press ESC.
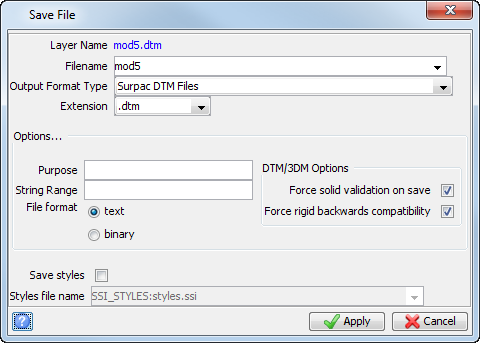
- Save mod5.dtm.
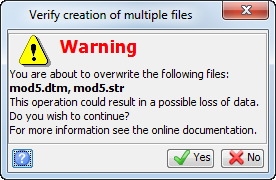
- Click Yes.
 Note: You need to see the points on string 1001 and also both segments of string 16.
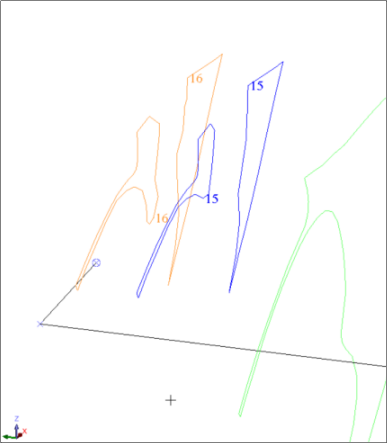
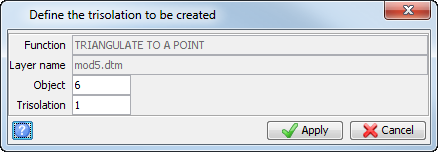
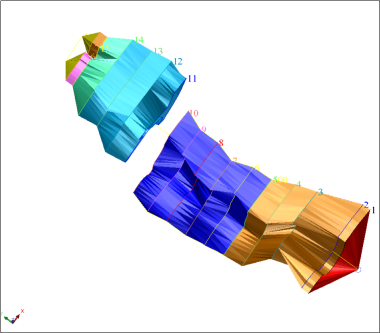
You have now finished the first triangulation.
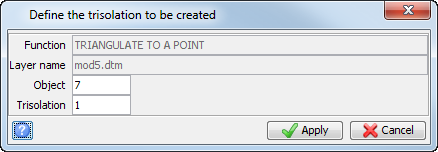
The northern end will look like the image shown.
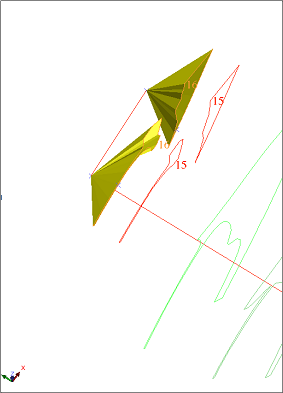
Repeat this process on the other end of the data.
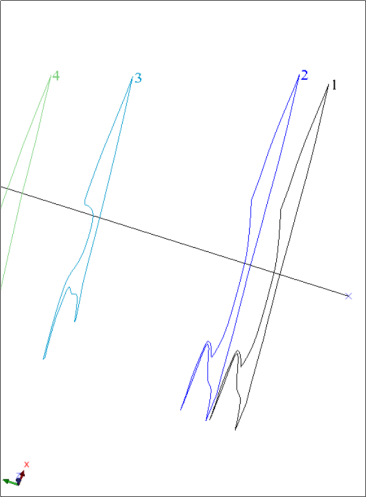
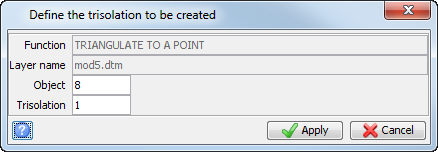
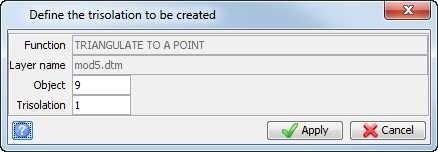
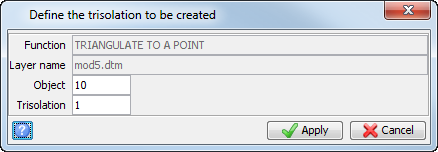
Notice that there is still a gap between strings 15 and 16. You will now create objects 9 and 10 to fill these gaps.
Note: If you want to run manually through the material again, you will need to copy original_mod5.dtm, and save it as mod5.dtm.
Note: If you want to see all of the steps performed in this section, run _04a_segment_to_a_point.tcl
. You need to click Apply on any forms presented.