


Triangulating using manual triangulation
Task: Triangulate using manual triangulation
- Click Reset graphics
 .
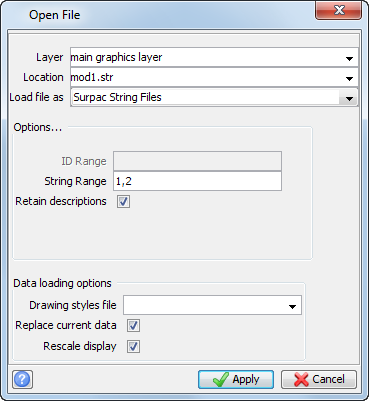
. - Choose File > Open > String/DTM file.
- Enter the information as shown, and click Apply
- Choose View > Data view options > View by bearing & dip to change the view to Bearing = 70, Dip = -20.
- Zoom in on strings 1 and 2.
- Choose Display > Point > Numbers to display the numbering sequence of strings 1 and 2.
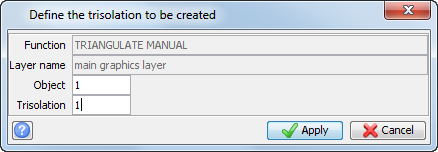
- Choose Solids > Triangulate > By manually selecting points.
- Enter the information as shown, and click Apply.
- Click point 33 on string 1 and then the corresponding point 117 on string 2.
- Click point 56 on string 1 and then the corresponding point 136 on string 2.
- Press ESC.
 Note: Follow the prompts at the bottom of the screen with care as the segments must be selected in a strict order.
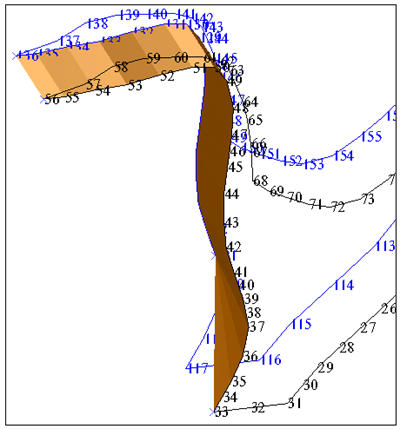
The triangulated image is displayed.
Note: To see all of the steps performed in this task, run
_04f_triangulate_manual.tcl. You need to click Apply on any forms presented.