


Task: Adding a building and text to a plan plot in DraftSight
There are many types of mark-up that you can add using the Draw menu, for example polylines and text annotations. In this example you will use this feature to draw a proposed new building.
It is good practice to keep mark-up in a different layer (or layers) from the data you are showing.
- Reset Graphics.
- Open pit1.str in Surpac.
- Click the Autoplot icon
 on the File toolbar.
 - Fill in the form as shown, and click Apply.
- Click Apply in the User definable title block lines form.
- In DraftSight, click the Layers Manager button.
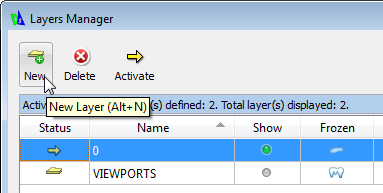
- Click New to create a new layer.
- Type buildings as the name of the new layer.
- Click Activate to make layer buildings the active layer, and then click OK.
- Click Draw > Polyline.
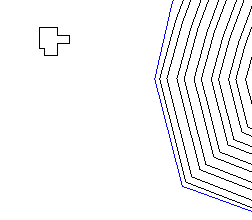
- Click several times beside the pit to create the irregular outline of a building.
- When you are ready to create the final wall of the building, right-click, and choose Close.
- If you make a mistake, press CTRL+Z to undo.
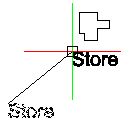
- Choose Draw > Text > Note.
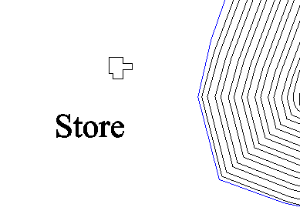
- Drag with the mouse beside the pit to define the area where the note should appear.
- In the note box, type
Store. - Select Tools > Options.
- In the Options - Drafting Styles form, click Drafting Styles, and click the Text node to expand it.
- From the Font list, select Arial.
- Click Apply.
- In the Options - Drafting Styles form, click OK.
- Click the note, right-click, in the shortcut menu choose Move, and, following the prompts shown in DraftSight, click in two locations on the display to move the note closer to the building.
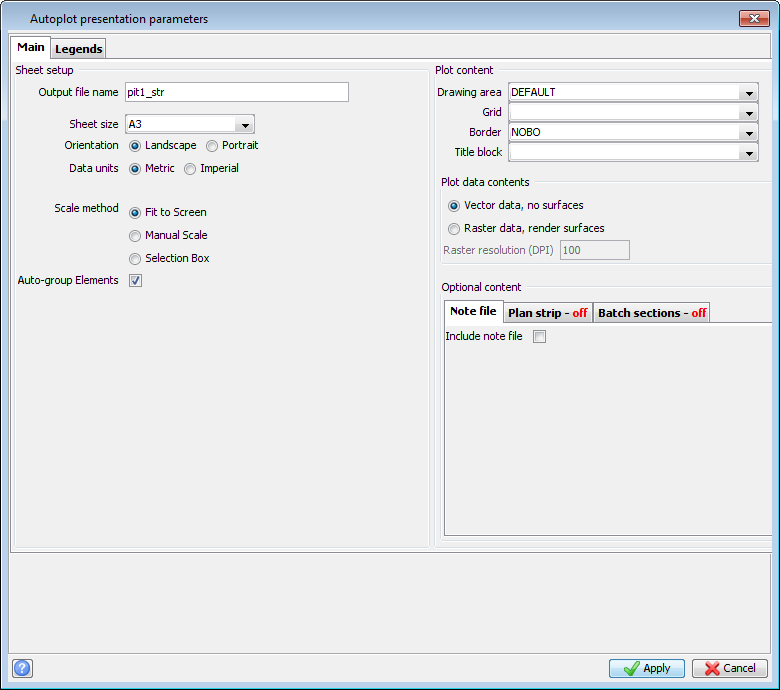
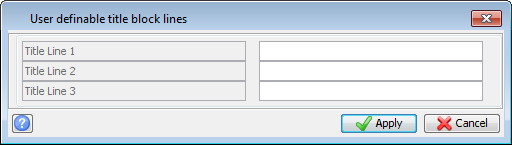
The pit is displayed in DraftSight.
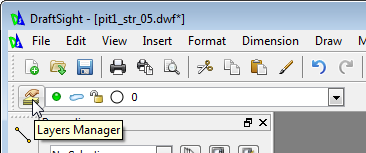
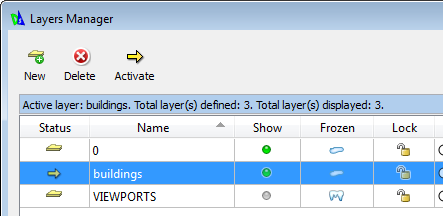
The DraftSight Layers Manager appears. All the lines of the plot are in layer 0. DraftSight also creates an empty layer called VIEWPORTS which you do need to use in this tutorial.
You could change the font type or the font size of the text for this individual note. However, usually it will save time if you edit one or more text styles so that you can apply the same font type and font size to several notes.
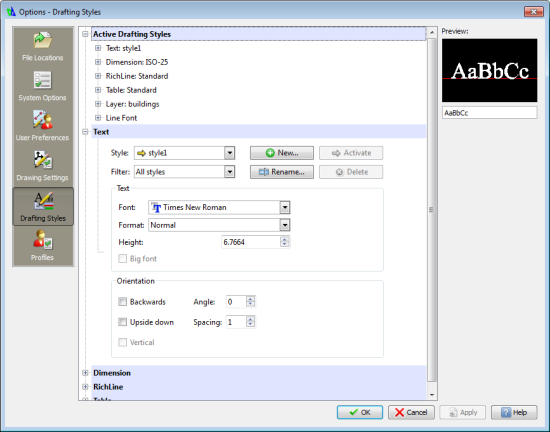
The Style box shows that you are modifying the properties of style1, which is the text style of the note you added.
The text "Store" on the plot changes font type from Times New Roman to Arial.
 Tip: The shortcut menu has Scale and Rotate commands that work in a similar way to Move.