


Additional Pit Design Tools
Task: Restart a Pit Design
 Note: Before you attempt the steps in this procedure you must have completed the previous task, Define the slope method, or have run macro_07_define_slope_berm_width.tcl.
- Open pit910.swa in Graphics.
- Use the Planes panel to make 905El the active plane.
- Choose Pit design > New ramp.
- Choose the ramp points in Graphics.
- Enter the information as shown, and click Apply.
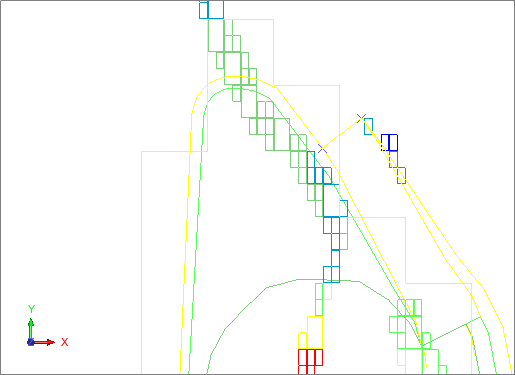
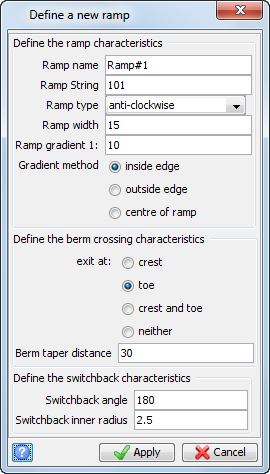
Note: To see all of the steps performed in this task, run _11_restart_pit_design.tcl. You need to click Apply on any forms presented.
Task: Design a Switchback
Instead of continuing the ramp around to the west side of the pit, you will keep the ramp on the east wall. In order to do this you will need to insert a switchback.
Note: Before you attempt the steps in this procedure you must have completed the previous tasks, Define the slope method and Restart a pit design, or have run macros _07_define_slope_berm_width.tcl and _11_restart_pit_design.tcl.
- Choose Expand segment > By berm width.
- Click the segment in Graphics.
- Enter the information as shown, and click Apply.
- Choose Edit > Point > Delete, and delete the points as shown.
- Choose Expand segment > By bench height.
- Click the segment in Graphics.
- Enter the information as shown, and click Apply.
- In the Planes panel, double-click 915El in the BM_sections group.
- Choose Expand segment > By berm width.
- Click the segment in Graphics.
- Enter the information as shown, and click Apply.
- Choose Expand segment > By bench height.
- Click the segment in Graphics.
- Enter the information as shown, and click Apply.
- In the Planes panel, click Next plane
 .
. - Choose Expand segment > By berm width.
- Click the segment in Graphics.
- Enter the information as shown, and click Apply.
- In the Layers pane, right-click ore_blocks.str and whittle_pit28.str and clear Visible, to hide these layers in Graphics.
- Click Zoom all
 .
. - Choose View > Viewing planes > Remove viewing / cutting planes.
- Choose Display > Hide temporary markers.
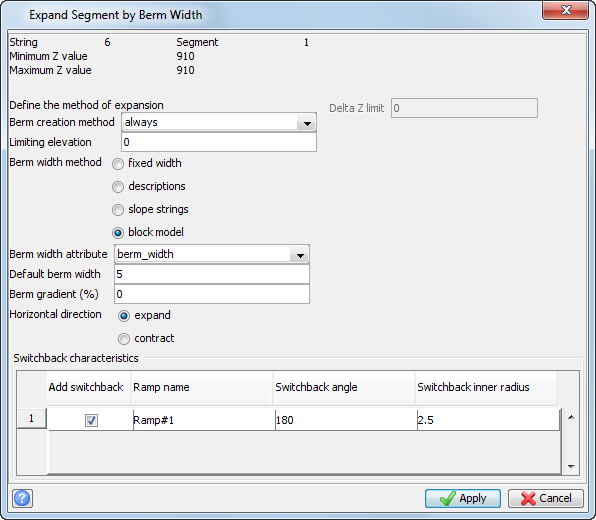
Note: You are adding a switchback to this ramp, with an angle of 180 degrees and an inner radius of 2.5 meters.
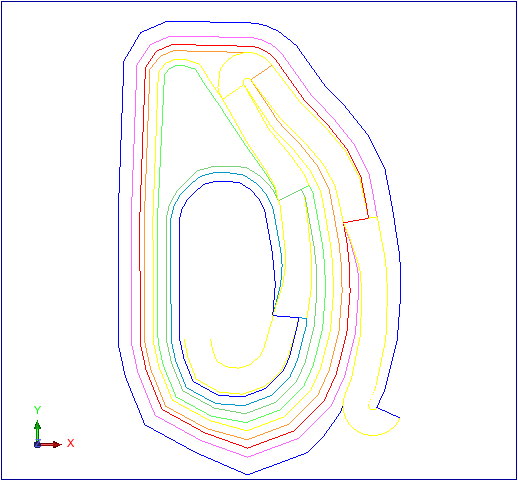
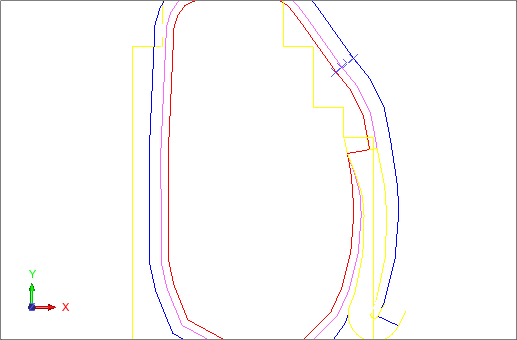
The segment is expanded, and the switchback is added to the ramp.
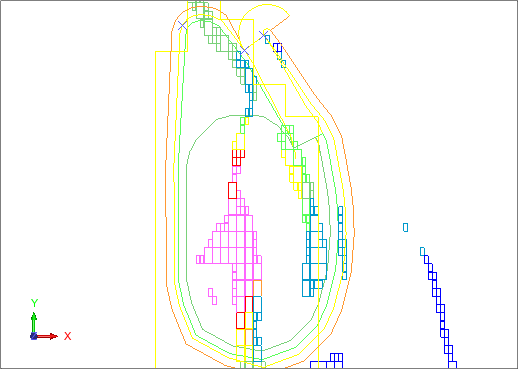
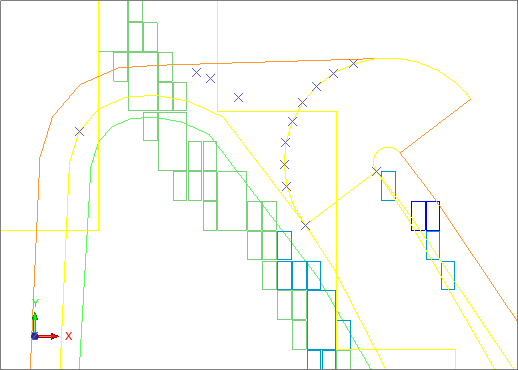
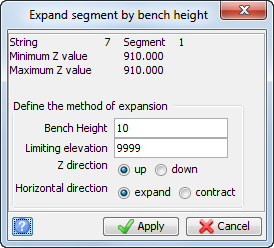
The segment is expanded.
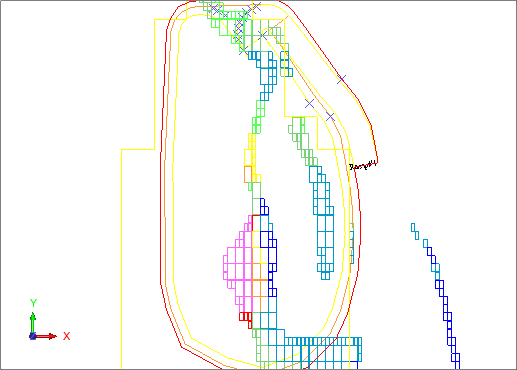
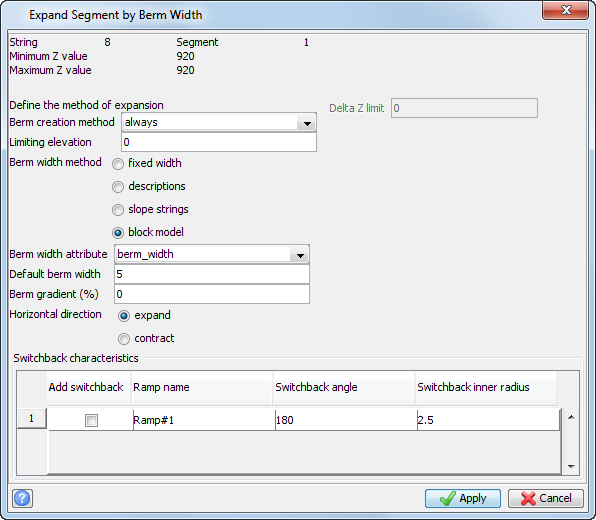
The segment is expanded, and the switchback is added to the ramp.
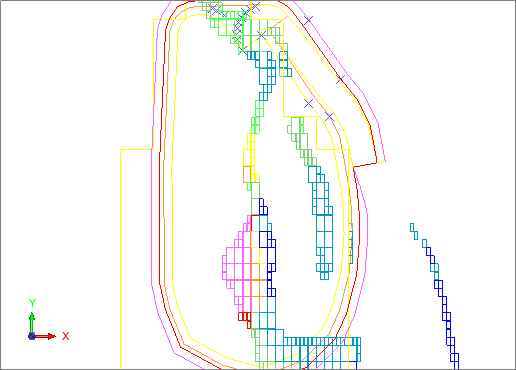
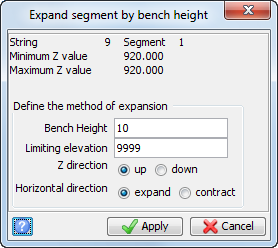
The segment is expanded.
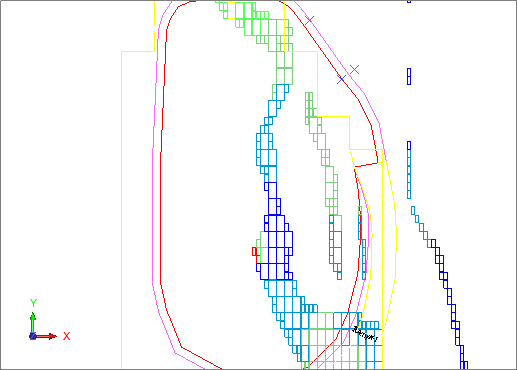
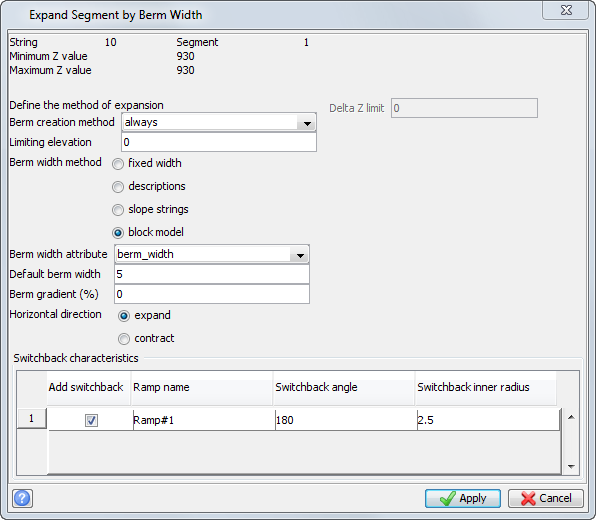
The segment is expanded, and the switchback is added to the ramp.
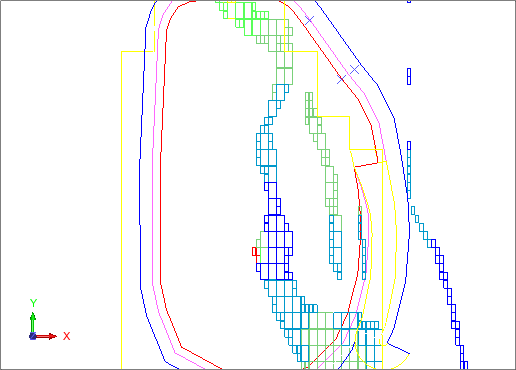
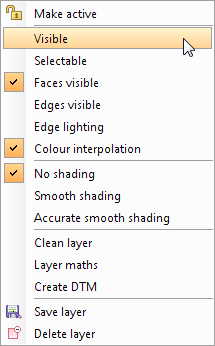
pit910.str is the only data visible in Graphics.
Note: To see all of the steps performed in this task, run _12_design_switchback.tcl. You need to click Apply on any forms presented.
Task: Create multiple benches
Note: Before you attempt the steps in this procedure you must have completed the previous tasks, Define the slope method, Restart a pit design, and Design a switchback. Alternatively, you can run macro _12_design_switchback.tcl.
- Choose Expand segment > Multi bench design.
- Click the segment in Graphics.
- Enter the information as shown, and click Apply.
- In the Layers pane, right-click whittle_pit28.str, and select Visible.
- In the Planes panel, double-click 885El in the BM_sections group.
- Click Next plane , and move through all of the planes to view the design.
- In the Layers pane, right-click whittle_pit28.str, and clear Visible.
- Choose View > Viewing planes > Remove viewing / cutting planes.
- Click Zoom all .
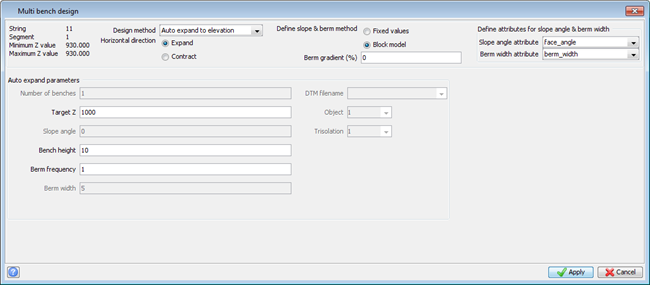
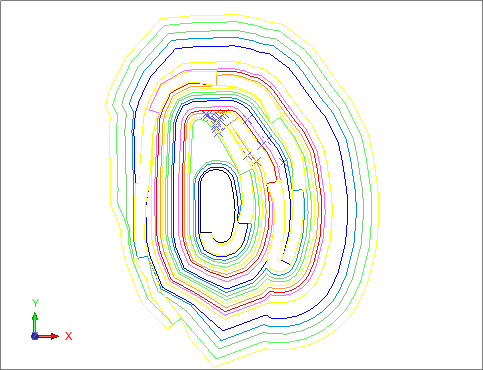
Benches from the current segment through to an elevation of 1000 are created.
Note: To see all of the steps performed in this task, run _13_multibench_design.tcl. You need to click Apply on any forms presented.