The Surpac interface
So that you can see the Surpac interface with some data files in the Navigator, ensure that you have started Surpac and set the work directory as described in the Setup for This Tutorial chapter.
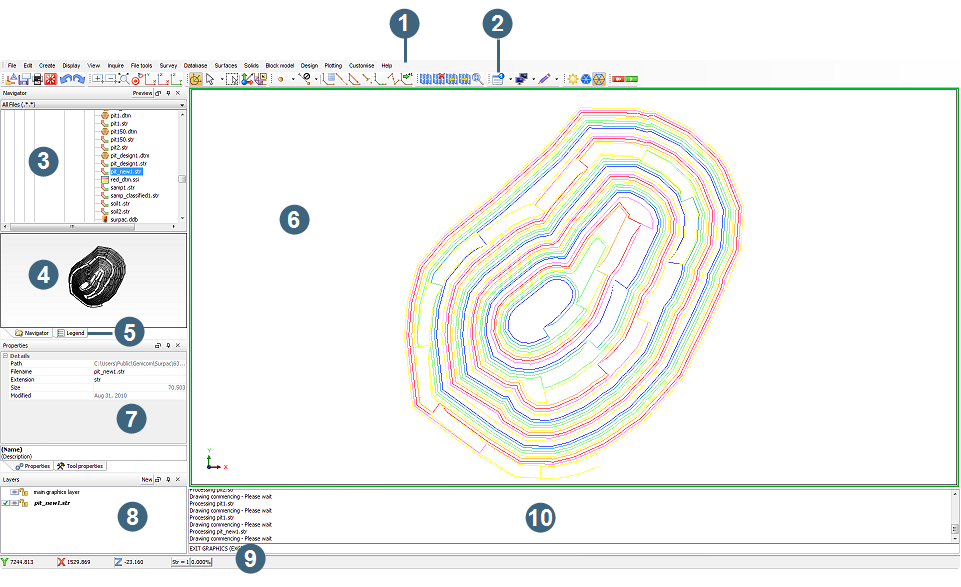
The Surpac interface consists of 10 different areas:
- Menus
- Toolbars
- Navigator
- Preview pane
- Legend pane
- Graphics
- Properties pane
- Layers pane
- Status bar
- Message window
Menus
The menus organise the functions into groups according to the modules in Surpac, such as the Block Model module.
Task: Open a file using the menu
- Choose File > Open > String/DTM file.
- Enter the information as shown, and click Apply.
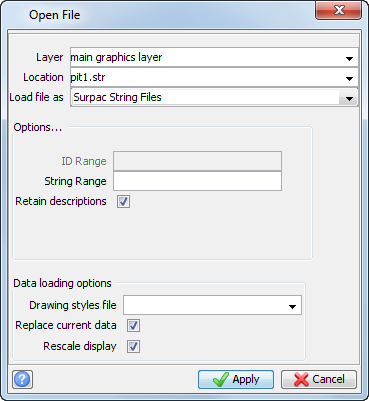
The file pit1.str is displayed.
Toolbars
A toolbar is a collection of icons that have related functions. By using toolbars, you can access commonly used functions directly without having to search through the menus.
Task: Use the Reset graphics button from the toolbar
- Open pit1.str in Graphics.
- Click Reset graphics
 .
.
This function removes all the data that is displayed in Graphics.
If data has been modified, Surpac will display a form to allow you to save the file. This is described in more detail in the chapter Viewing and Saving Data.
Navigator
The Navigator works like Windows Explorer. Using the Navigator, you can manage your files and directories by creating new folders, cutting, copying, pasting, and deleting files and folders.
Task: Open a file from the Navigator
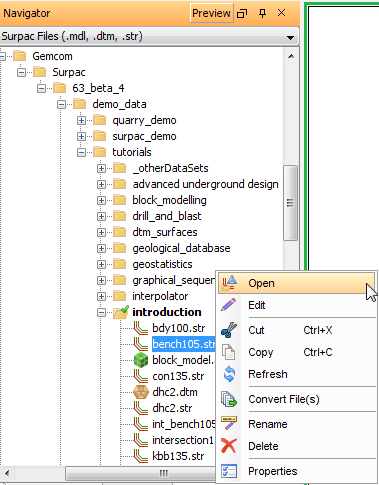
- In the File Filter in the Navigator, select Surpac Files (.mdl,.dtm,.str).
- Right-click the file bench105.str in the Navigator.
- From the shortcut menu, select Open.
- In the File Filter, select All files.
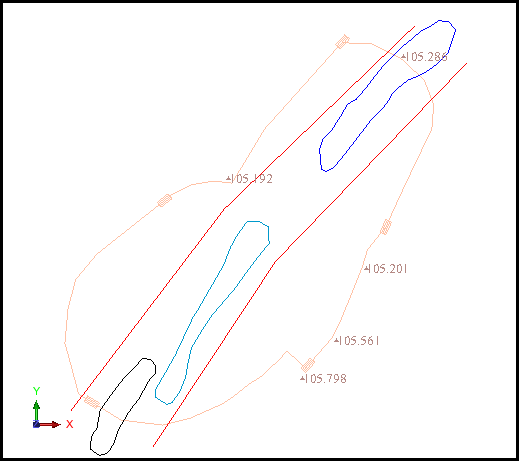
bench105.str is displayed.
Preview pane
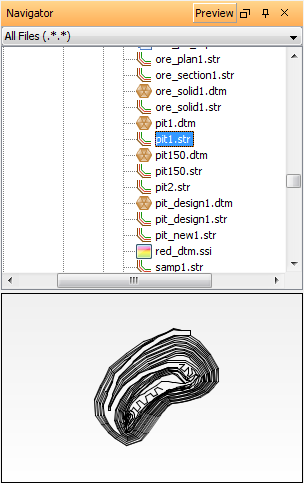
The Preview pane displays string data without the need to load it into Graphics.
Task: Display a string file in the Preview pane
- If the Preview pane is not displayed, click the Preview button at the top of the Navigator.
- Click pit1.str in the Navigator.
- Click and drag in the Preview pane to rotate the data, as shown.
- Click the Preview button again to close the Preview pane.
Legend pane
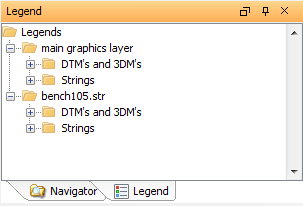
This is the area where you can see the legends for data in Graphics.
Graphics
Known as the graphics area, or simply Graphics, this is the area where you perform most of the work in Surpac. The graphics area is a three-dimensional work area. Any file loaded into Graphics has Y, X, and Z coordinates.
Task: Display and view data in Graphics
- Click Reset graphics .
- To open the file, drag pit_design1.str into Graphics.
- Perform the following steps:
- Use the left mouse button to rotate the image.
- Use the right mouse button to zoom in and out based on the centre of the image.
- Use the wheel button, or both mouse buttons, to pan the image.
- Use the wheel button to zoom in or out in relation to the current location of the pointer.
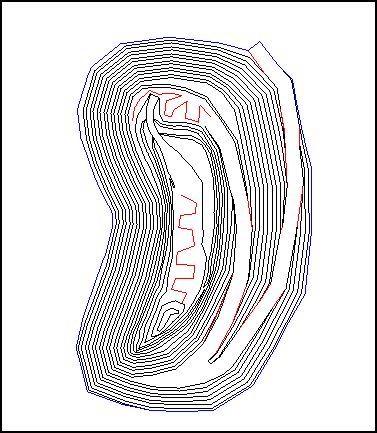
The file pit_design1.str is displayed.
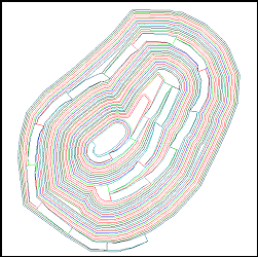
Properties pane
This is the area where you see:
- the properties of your file data when the Navigator is active
- information about data loaded in Graphics when Surpac is in select mode and you have data selected
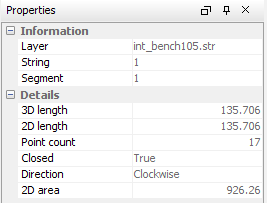
Layers pane
This is the area where you manage your data in layers. This is described in more detail in the chapter Managing Data in Layers.

Status bar
The Status bar shows the coordinate position of the mouse pointer as well as the string number and design gradient. The Status bar also shows whether a database or block model is loaded into memory.
Task: View changes to the Status bar
- Open surpac.ddb (a geological database) in Graphics.
- Open block_model.mdl (a block model) in Graphics.
- Move the pointer within Graphics .
- In the Status bar, click the surpac button, and select Close.
- Click the block_model button, and select Close.
Two buttons have been added to the status area, indicating that a database named surpac and a block model named block_model are loaded:

The coordinates shown in the status area are updated as you move the mouse.
Message window
The message window shows the information, warnings, and error messages that Surpac produces while it is executing functions.
 Tip: Sometimes the message window also contains information such as coordinates of selected points
or properties of files in Graphics. You can copy this information and paste it into text files or documents.
Tip: Sometimes the message window also contains information such as coordinates of selected points
or properties of files in Graphics. You can copy this information and paste it into text files or documents.

Task: Clear the message window
- Right-click in the message window to display a shortcut menu.
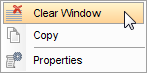
- Select Clear Window .