Managing data in layers
Many computer-aided design (CAD) packages use the term “layer” to define a set of information contained within one file. In this way, a Surpac string number is the same as a CAD package “layer”. However, in Surpac, a layer is an area in memory that contains data displayed in Graphics. Layers can contain strings from one or more string files. With this in mind, you can append data from different files into one layer, and create a new file. All layers are contained within the Surpac Work Area (SWA).
Layers and the Surpac work area
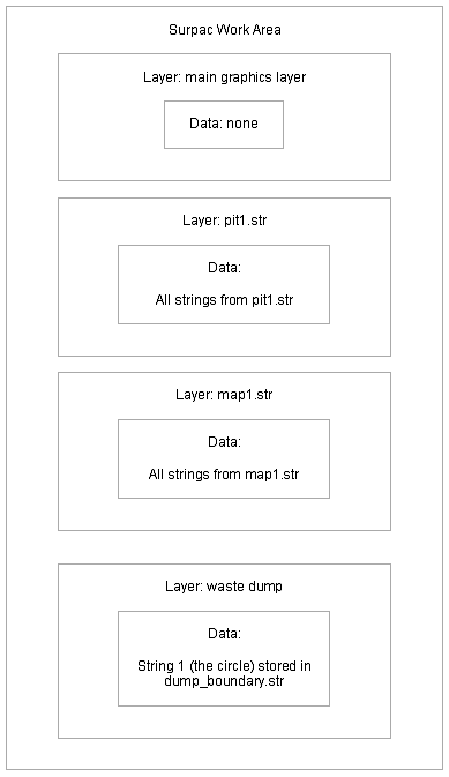
When Surpac starts, it creates an area in memory called the Surpac Work Area (SWA). All data that is displayed in Graphics is stored within one or more layers, which are located within the SWA. Before you have displayed any data in Graphics, the SWA contains one layer, called the “main graphics layer”.
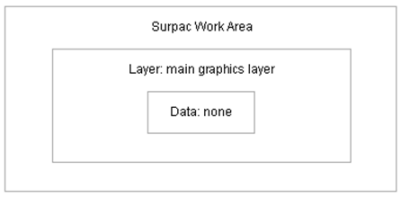
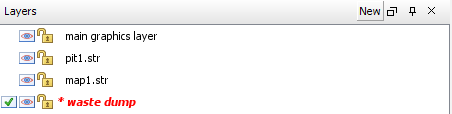
All layers in the SWA are displayed in the Layers pane, at the lower left corner of the Surpac window:

Creating layers
When you open a file by dragging it from the Navigator into Graphics, you create a new layer with the same name as the file. You can also create a new layer using the New button on the Layer pane.
Task: Create layers
- Click Reset graphics
 .
. - Open pit1.str in Graphics.
- Open map1.str in Graphics.
- On the Layers pane, click
 .
. - Enter the information as shown, and click Apply.
- Choose Create > Circle by drag.
- Click the centre of the circle, drag to the location shown, and then release the mouse button.
- Enter the information as shown, and click Apply
- Press ESC to finish using the function.
- Choose File > Save > string/DTM.
- Enter the information as shown, and click Apply.
The Layers pane now shows two layers, the main graphics layer and a new layer called pit1.str that becomes the active layer.

| This symbol… | indicates that the layer is… |
|---|---|
|
|
active |
|
|
visible |
|
|
selectable |


The SWA now contains:
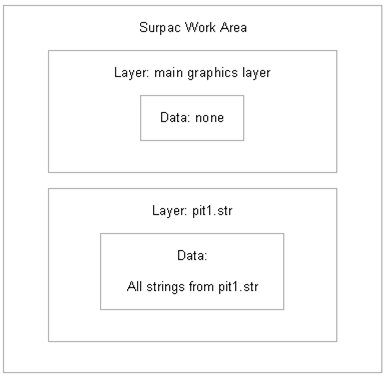
The Layers pane now shows three layers, and map1.str is the active layer.

The SWA now contains:
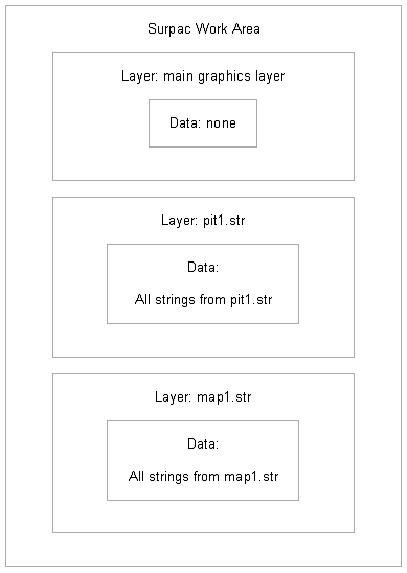
Next, you create a circular area, which is the boundary of a waste dump, and save the data to a separate file. As part of this process, you will create a new layer where the data is stored.
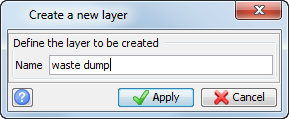
The new layer is now the active layer.
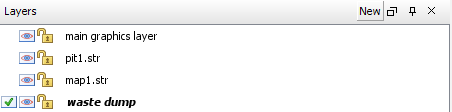
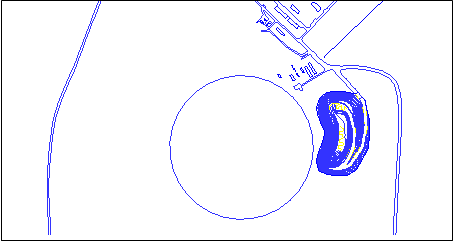
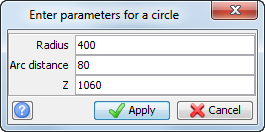
The waste dump layer is now displayed in red, and it is preceded by an asterisk (*). This occurs when you have changed data in a layer, but you have not saved it to that layer.
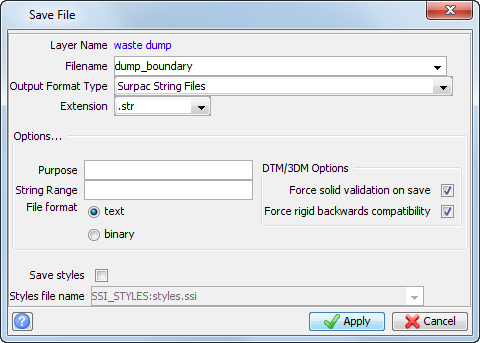
The waste dump layer is now displayed in black.
The SWA now contains:
Appending data to a layer
You can append data to a layer by holding the CTRL key when dragging a file into Graphics. You can also use an option on the Open File form to append data to a layer.
Task: Append data to a layer with the Navigator
- Click Reset graphics .
- Hold the CTRL key, then drag pit1.str into Graphics.
- Hold the CTRL key, and then drag map1.str into Graphics.
- Choose File > Save > String/DTM file.
- Enter the information as shown, and click Apply.
 Note: When you hold the CTRL key and drag a file into Graphics , the cursor is displayed with a plus sign ( + )
 .
.
After releasing the mouse button, the Layers pane still only shows one layer, the main graphics layer.

The SWA now contains:
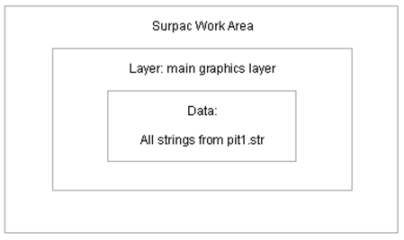
The Layers pane still only shows one layer, the main graphics layer.
The SWA now contains:
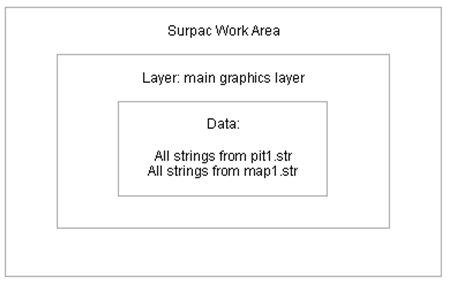
Next, you save the data from both files to a new file.
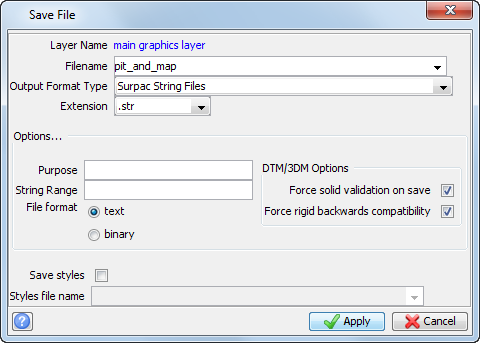
The file map_and_pit.str contains all data from pit1.str and all data from map1.str.
Task: Append data to a layer with the open file command
- Click Reset graphics .
- Choose File > Open > String/DTM file.
- Enter the information as shown, and click Apply.
- Choose File > Open > String/DTM file.
- Enter the information as shown, and click Apply.
- Choose File > Save > string/DTM file.
- Enter the information as shown, and click Apply.
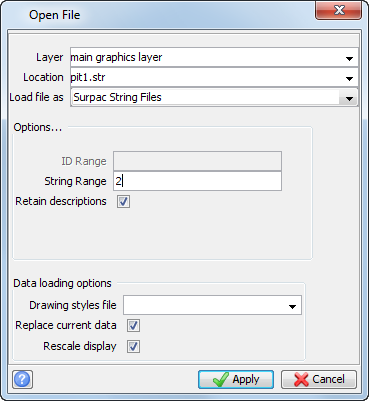
Setting String Range to 2, means that only string 2 from pit1.str is opened in the main graphics layer.
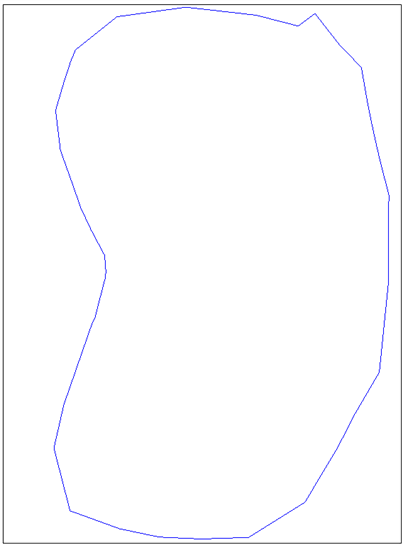
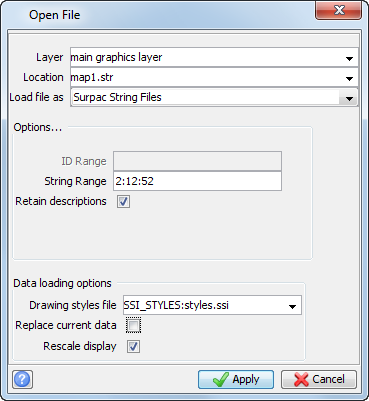
Setting String Range to 2;12;52 means that only those three strings are opened. Also, because the Replace current data check box was cleared, the data is appended to the main graphics layer.
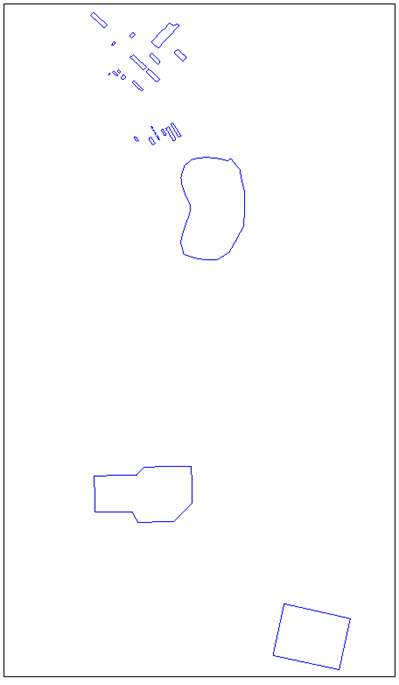
The SWA now contains:
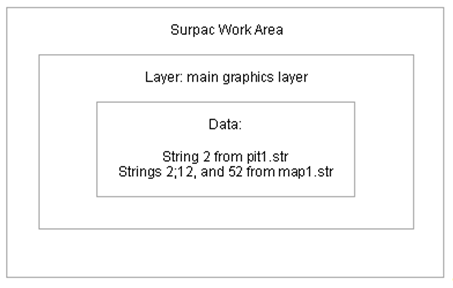
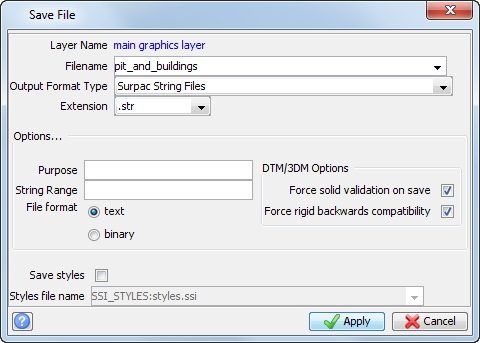
The file pit_and_buildings.str now contains string 2 from pit1.str and strings 2, 12, and 52 from map1.str.
Replacing data in a layer
Task: Replace data in a layer with the Navigator
- Click the Reset graphics icon .
- Open map1.str in Graphics.
- Click pit1.str so that it is highlighted Navigator.
- Hold the SHIFT key, and then drag pit1.str into Graphics.
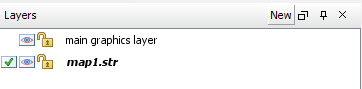
The Layers pane shows the two layers:
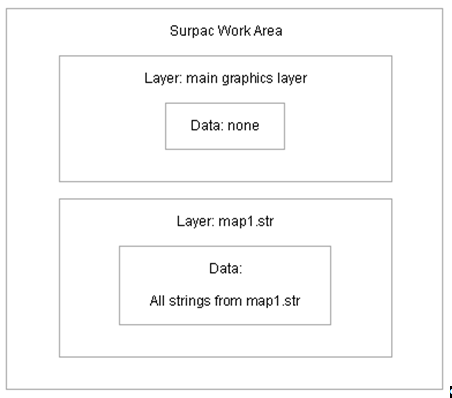
The SWA now contains:
When you hold the SHIFT key and drag a file into Graphics, the cursor is displayed with an X.  .
.
The Layers pane still shows both layers:

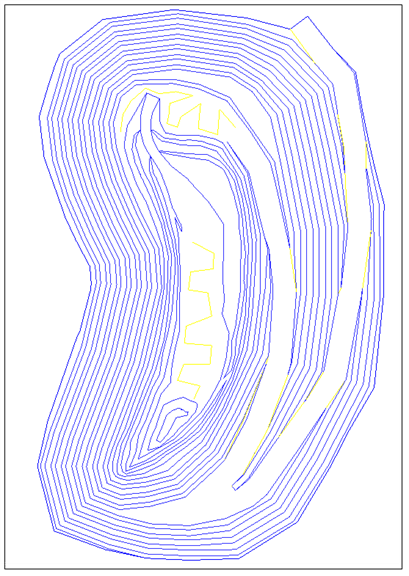
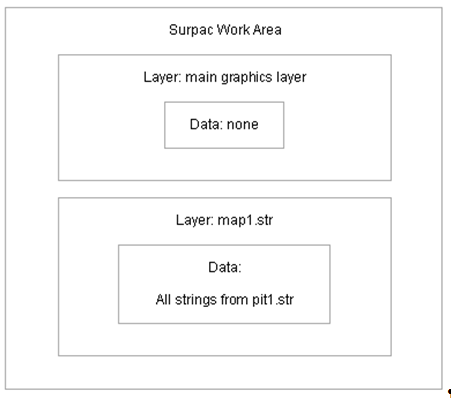
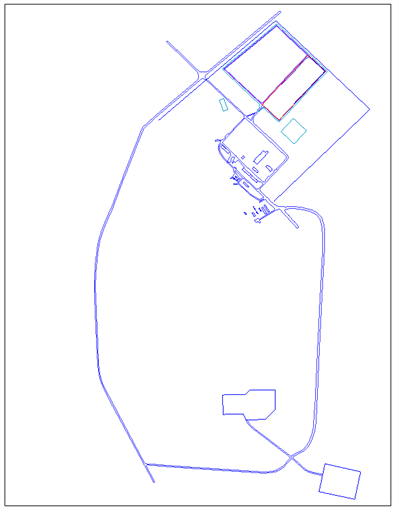
However, the contents of the map1.str layer has been replaced by the data in pit1.str:
The SWA now contains:
Task: Replace data in a layer using the open file command
- Click Reset graphics.
- Choose File > Open > String/DTM.
- Enter the information as shown, and click Apply.
- Choose File > Open > String/DTM.
- Enter the information as shown, and click Apply.
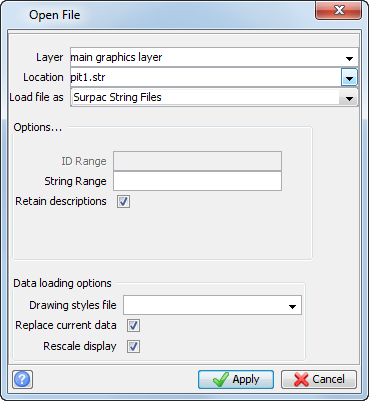
All the data in pit1.str is displayed in the main graphics layer.
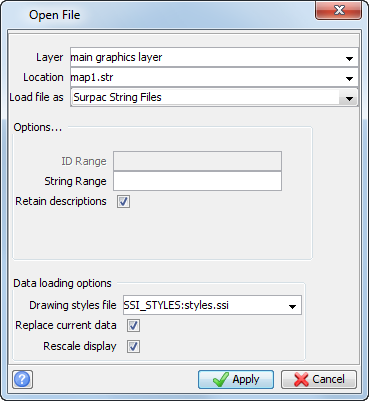
All data in the main graphics layer is replaced by the data in map1.str.
Saving workspace settings
Task: Save a workspace
- Click Reset graphics .
- Open ore1.dtm in Graphics.
- Choose View > Surface view options > Lighting options.
- Enter the information as shown, and click Apply.
- Open pit_design1.str in Graphics.
- Open topo1.str in Graphics.
- Click in Graphics and drag to rotate into the position shown below.
- Choose File > Save > Graphics workspace.
- Enter the information as shown, and click Apply.
- Click Reset graphics .
- Open ore_pit_topo.swa in Graphics.
- Choose View > Surface view options > Lighting options.
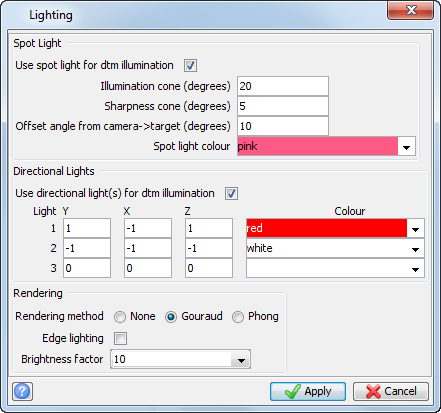
- Enter the following information, and click Apply.
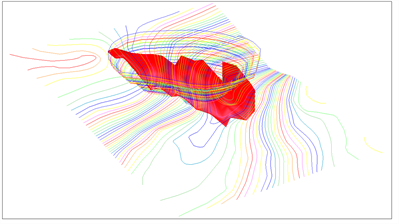
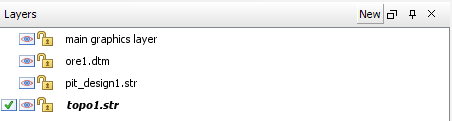
Four layers exist in the Layers pane.
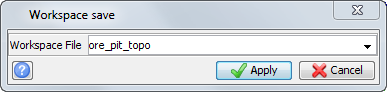
The file ore_pit_topo.swa is created.
Note: The terms “Graphics workspace” and “SWA” both refer to the Surpac Work Area. When you save a workspace, you create a file with a .swa extension.
All the layers are deleted except the default main graphics layer.
You have restored the layers in the Layers pane, as well as the lighting settings and the view direction.
Note: SWA files are text files that store information about other files. If you want to open a SWA file on another computer, you need to make sure that the files that are referenced by the SWA file are available on the alternate computer, using the same folder structure.
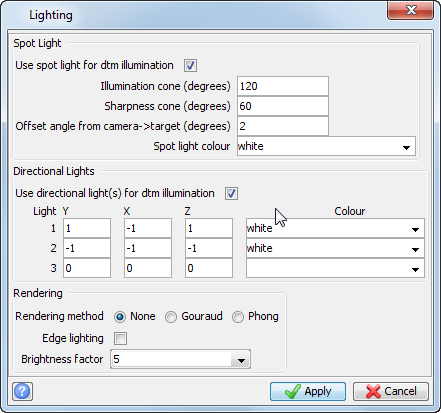
The lighting is reset to its original state.