


Importing and viewing data
Import data
Task: Import data from text files
You will import geology and sample data into the database.
- Open sample.txt in a text editor
- Close the file.
- Open geology.txt in a text editor.
- Close the file.
- Connect to add_optional_tables.ddb.
- Choose Database > Import data.
- Enter the information as shown, and click Apply.
- Click Apply.
- Select the tables that you want to insert the data into, in this case the geology and sample tables.
- Click Apply.
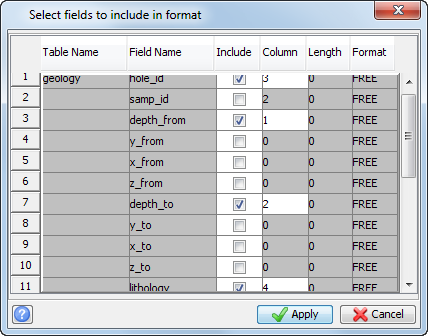
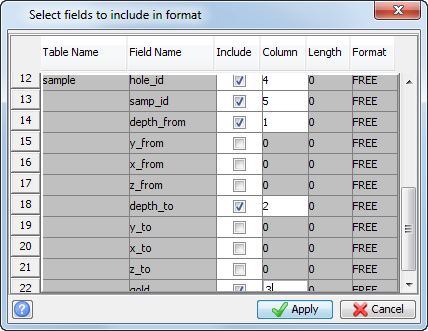
- Select the field names you want to include for the geology and sample tables, and enter the column number of the data in the text file as shown.
- Click Apply.
- Select the Text File Name and Load Type for the tables.
- Click Apply.
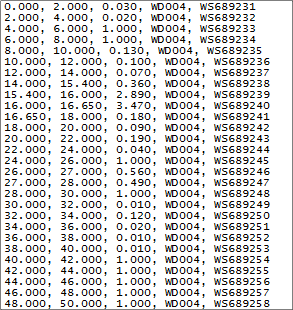
The fields are comma delimited and represent depth_from, depth_to, gold, hole_id, and sample_id.
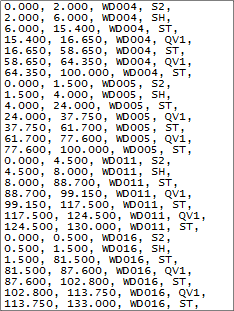
The fields are comma delimited and represent depth_from, depth_to, hole_id, and lithology.
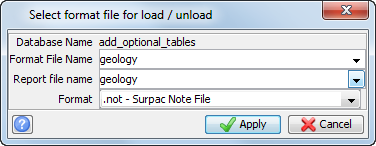
If a format file of the same name exists it will be used.
 Note: Surpac does not check whether the format file matches the data to be imported.
If no format file exists, the following form is displayed.
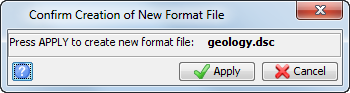
This creates a format file which, if the structure of the text file being imported remains the same, can be used each time you import data in the same format.
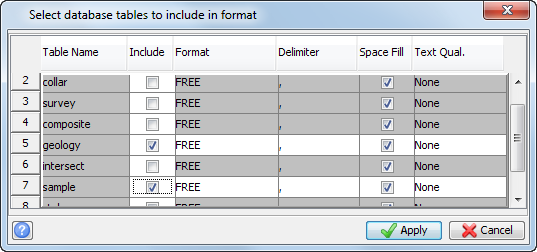
Note: Make sure you scroll down and
clear the check boxes for tables at the bottom of the list.
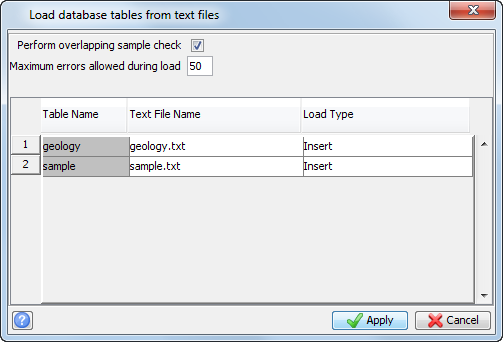
Note: If you select Perform overlapping sample check, an error is recorded in the report file if the data for any holes overlaps. Allowing a small number of errors before the process stops can be useful. These error records do not go into the database, they are stored in a reject file with an explanation for the error.
Note: The
Insert option does not replace existing data in the database; the
Update option does replace existing data in the database.
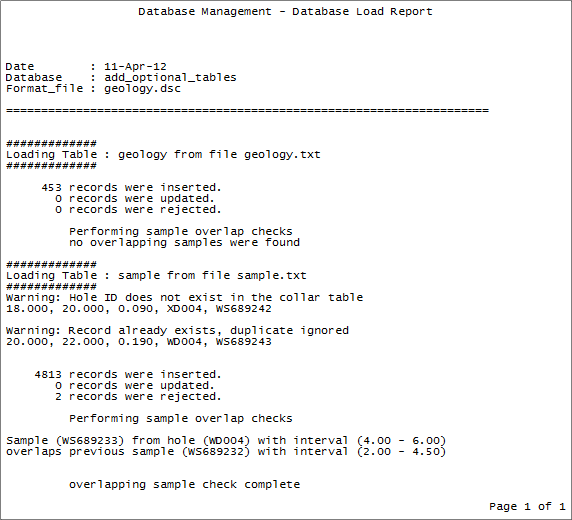
The following is a sample reject file, where a header record has been read as an error and sent to the reject file with two other rejected records.

An explanation of the errors is given in the report file.
Note: To see all of the steps in this section, run
02a_importing_data.tcl.
You need to click Apply on any forms presented.
Viewing data
You can view data directly from the Access database by dragging the .mdb , or .accdb, file into the graphics workspace. After the data has been imported, you can view and edit tables using options from the Edit menu.
When selecting View table constrained, the Define Query Constraints form allows the data to be filtered depending on the values for a particular field from that table. You can also use multiple constraints, but all of the conditions must be met for the data to be displayed.
Task: View data in a table with constraints
- Connect to surpac_training.ddb.
- Choose Edit > View table constrained.
- Enter the information as shown, and click Apply.
- Click Apply.
- Enter the information as shown, and click Apply.
- Click Apply.
- Close the database.
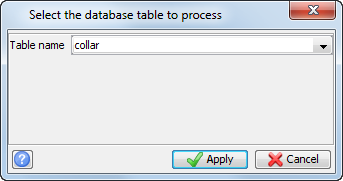
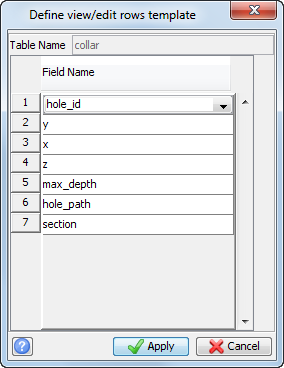
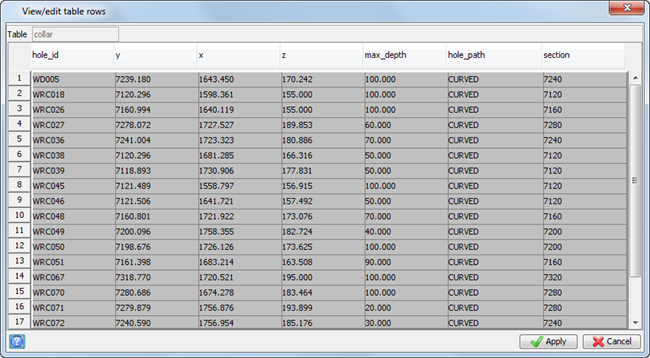
The Define view/edit rows template form is displayed.
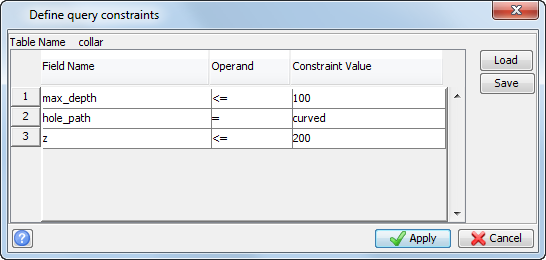
Note: Right-click in the space below the current row and select
Add from the shortcut menu to add a new row.
The holes that meet all three of the above constraints are displayed.
Note: To see all of the steps in this task, run
02b_viewing_data.tcl. You need
to click Apply on any forms presented.