


Draping an image
Task: Drape an image over a DTM.
- Click Reset graphics
 .
. - Open eom_pit.dtm in Graphics.
- Choose File > Images > Drape an image file over a DTM.
- Click anywhere on the DTM.
- Enter the information as shown, and click Apply.
- Follow the prompts at the bottom of the screen to select a series of registration points, first in the image, and then in the DTM.
- When sufficient registration points have been defined (a minimum of three points), press ESC to display the coordinates of your registration points.
- Click Apply.
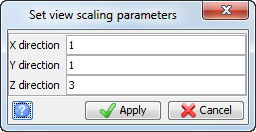
- Choose View > Data view options > View scale factors.
- Enter the information as shown, and click Apply.
- Rotate the image to see the full effects of the rescaled image drape.
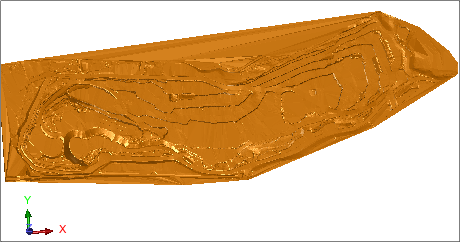
 Note: You will be prompted to Select the triangle of interest.
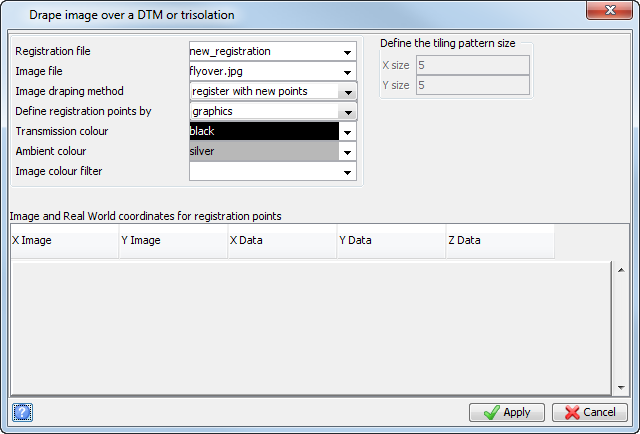
Note: The name used for the Registration file must not exist when you are select register with new points for the Image draping method.
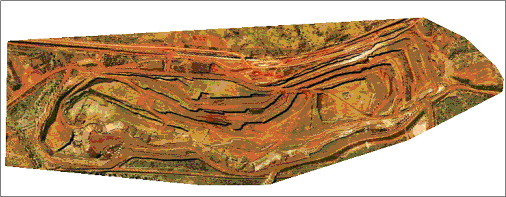
The DTM is displayed first, then the image to drape over the DTM.
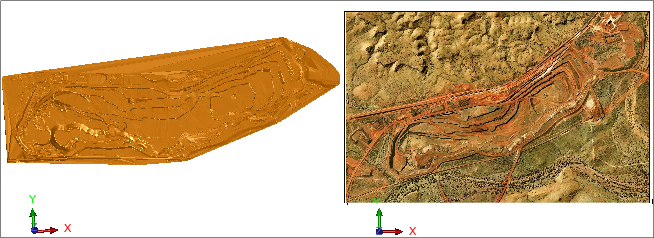
 Tip: Try to pick points that represent features easily recognisable on both the image and the DTM. Also, pick enough points to cover most of your area of interest.
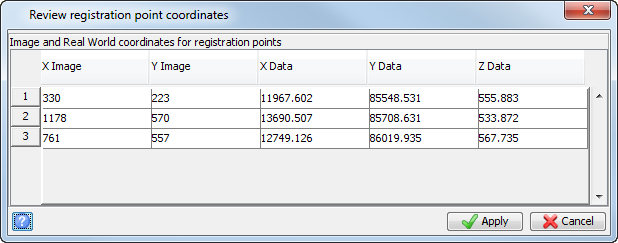
The pit with image drape is displayed.
Tip: To give a more realistic view, increase the z scale by a factor of 3.
Note: To see all of the steps performed in this task, run _10_image_drape.tcl. You need to click Apply on any forms presented.