


Draping a string over a DTM
Task: Drape a spot height string over a DTM
- Click Reset graphics
 .
. - Open topo1.dtm in Graphics.
- Open dhcollar1.str in Graphics.
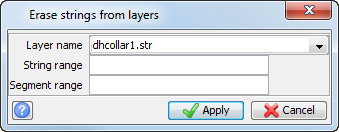
- Choose Display > Hide strings > In a layer.
- Enter the information as shown, and click Apply.
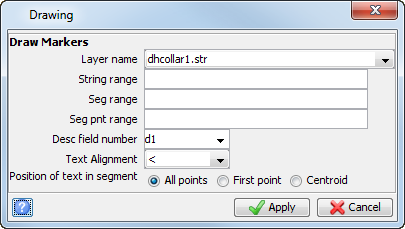
- Choose Display > Point > Markers.
- Enter the information as shown, and click Apply.
- Press and hold down the mouse button to rotate the view of the drillhole collars as shown. By rotating the image, you can select the markers and not the DTM.
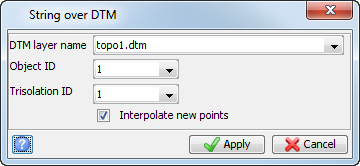
- Choose Surfaces > Drape string over DTM.
- Click one of the markers to select the string to drape over the DTM.
- Enter the information as shown, and click Apply.
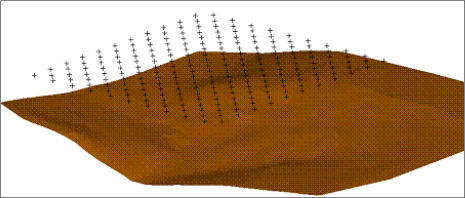
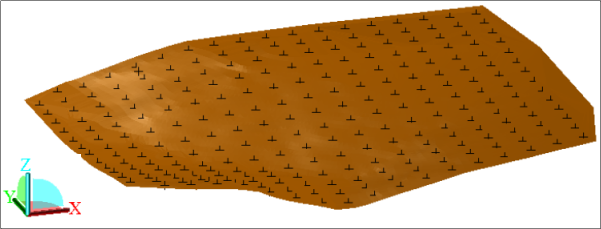
The DTM is displayed with draped markers.
 Note: To see all of the steps performed in this task, run _09a_draping_a_spot_height_string_over_a_dtm.tcl. You need to click Apply on any forms presented.
Task: Drape a non-spot height string over a DTM
- Click Reset graphics .
- Open floor1055.dtm in Graphics.
- Open centreline.str in Graphics.
- Click Section view
 .
. - Choose Display > Point > Markers.
- Enter the information as shown, and click Apply.
- Choose Surfaces > Drape string over DTM.
- Click the centreline string.
- Enter the information as shown, and click Apply.
- Choose Display > Point > Markers.
- Enter the information as shown, and click Apply.
- Click Plan view
 , and then click Edges on
  to display the DTM triangle edges.
 - Save the string as centreline_draped.str.
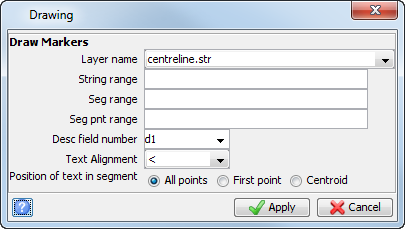

Note: The centreline.str only contains two points.
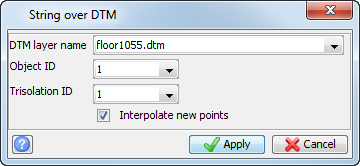
Note: The option to Interpolate new points is selected to create new points where the string crosses a triangle edge.
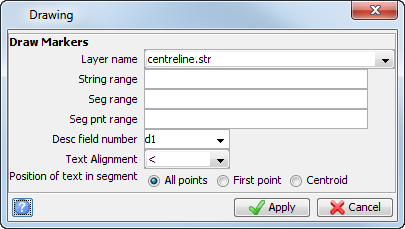
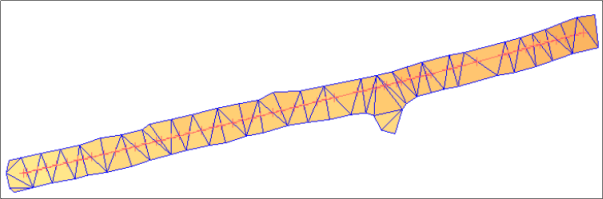
Note: The points have been created at the intersection of the string and DTM triangle edges.
Note: To see all of the steps performed in this task, run _09b_draping_a_non_spot_height_string_over_a_dtm.tcl. You need to click Apply on any forms presented.