


Load and tie in a firing pattern
Task: Unload a blast pattern from the blast database
- Click Reset graphics
 .
. - Open bench960_950.str in Graphics.
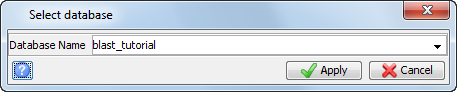
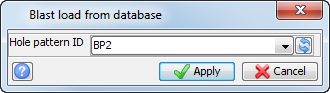
- Choose Database > Download blast holes from database.
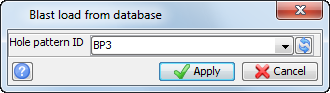
- Enter the information as shown, and click Apply.
- Enter the information as shown, and click Apply.
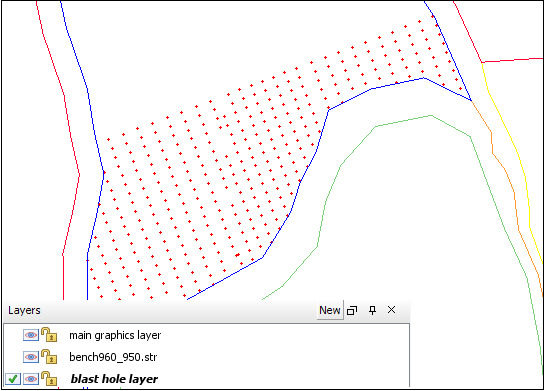
The blast hole layer is displayed:
Task: Charge all holes
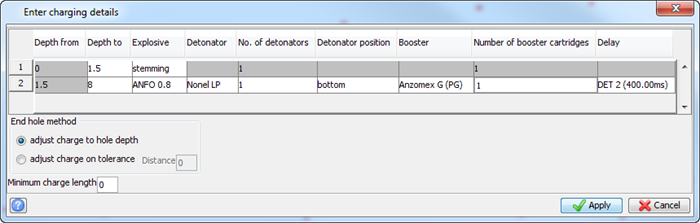
- Choose Charge > All holes.
- Enter the information as shown, and click Apply.
- Close charging.log.
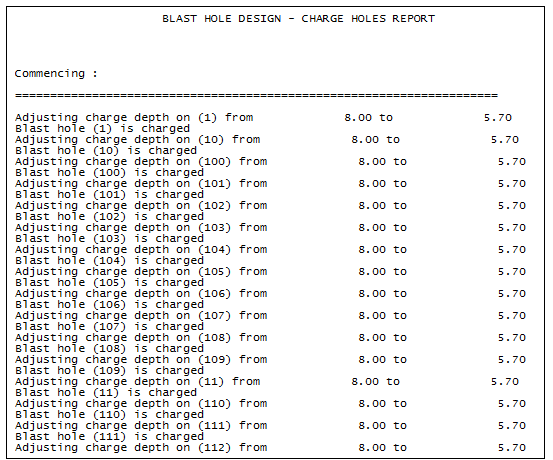
The charge holes report is displayed:
Task: Tie in a diagonal firing pattern
- Choose Firing sequence > Generate firing sequence.
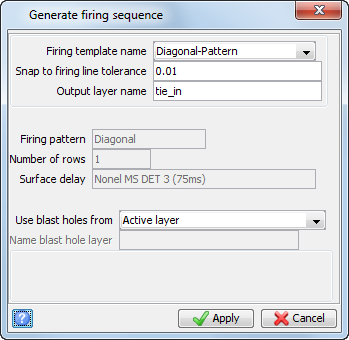
- Enter the information as shown, and click Apply.
- Click and drag over the first row of the pattern to identify the tie in.
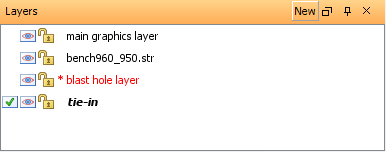
- In the Layers pane, right-click tie-in and choose Make active.
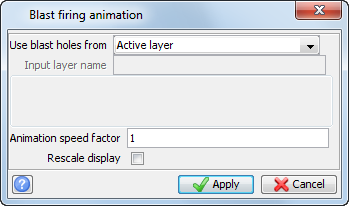
- Choose Firing sequence > Firing animation to animate the blast.
- Enter the information as shown, and click Apply.
The blast holes are displayed.
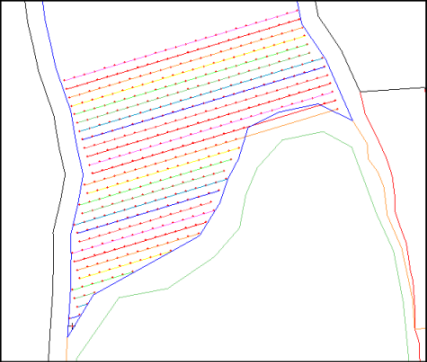
The tie in delay information is written into the description fields of each of the blast holes, which allows you to save and upload the information to the blast database.
The tie in lines have been created in the new layer, in this case called tie_in. If you want to keep a copy of this data for visualisation or plotting, make tie_in the active layer and save the file.The data in this layer is not saved automatically when you upload the tie in information to the blast database.
The blast animation is displayed.
Task: Upload tie in pattern to the blast database
- Choose Database > Upload blast holes into database.
- Enter the information as shown, and click Apply.
- Enter the information as shown, and click Apply.
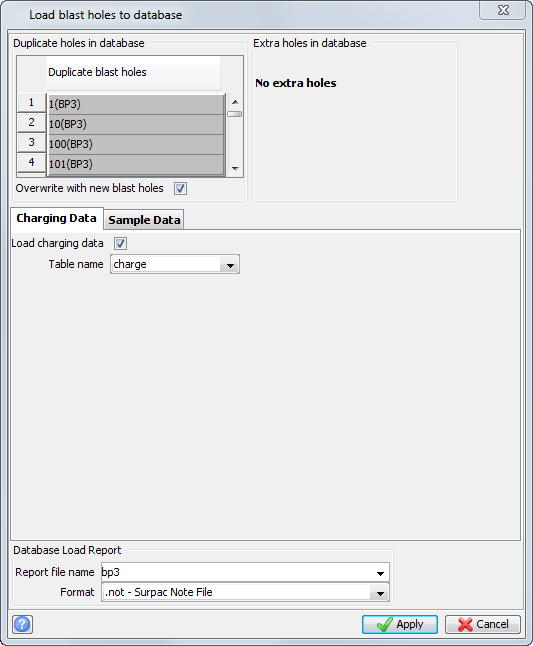
 Note: Make sure you select Overwrite with new blast holes, because you want to replace the original data with the new pattern, including the firing sequence information.
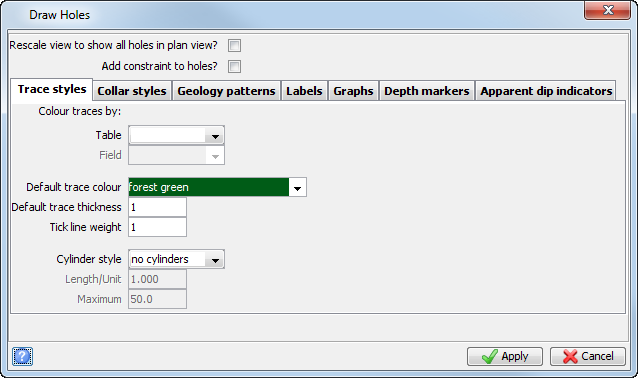
The firing sequence information is loaded to the blast database and the holes contained within the database are displayed in Graphics.
Note: To see all of the steps performed in this and the previous task, run macro 03a_load_&_tie_pattern1.tcl. You need to click Apply on any forms presented.
Task: Tie in a V firing pattern
- Click the Reset graphics icon .
- Open bench960_950.str.
- Choose Database > Download blast holes from database.
- Enter the information as shown, and click Apply.
- Enter the information as shown, and click Apply.
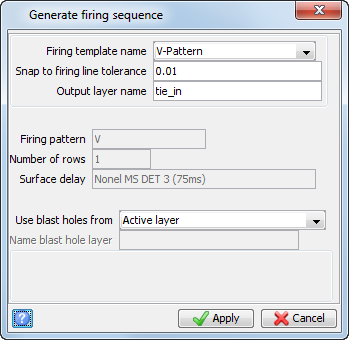
- Choose Firing sequence > Generate firing sequence.
- Enter the information as shown, and click Apply.
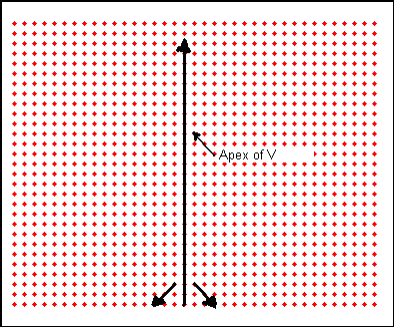
- In response to the prompts, define the apex of the V pattern, and the two sides of the V, by clicking and dragging each line as shown.
The "V" blast pattern is displayed.
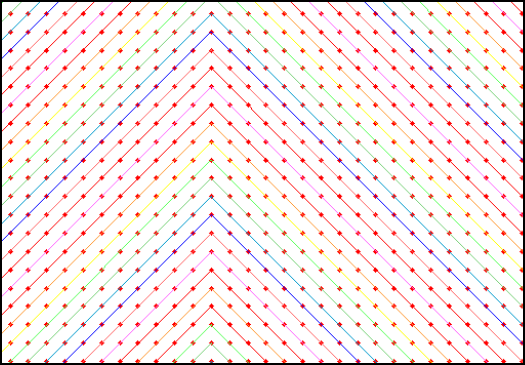
Note: To see all of the steps performed in this task, run macro 03b_v_pattern.tcl. You need to click Apply on any forms presented.
Task: Tie in a customised firing pattern
- Click the Reset graphics icon .
- Open bench960_950.str.
- Choose Database > Download blast holes from database.
- Enter the information as shown, and click Apply.
- Enter the information as shown, and then Apply.
- Choose Firing sequence > Customised firing sequence.
- Enter the information as shown, and click Apply.
- Select holes to define the holes in the first row as shown.
- Choose Firing sequence > Increment row number.
- Select the next row in the firing sequence by clicking on either the start point, any inflection points, or the end point.
- Continue defining rows using the above process until you have completed all the rows as shown.
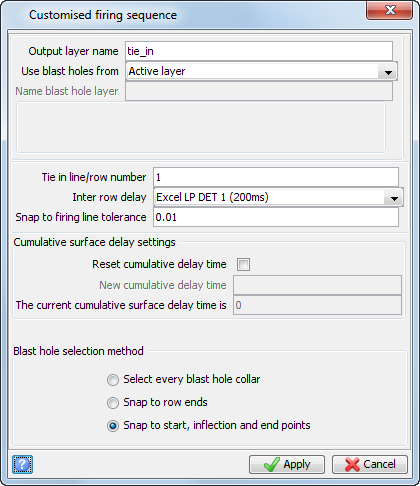
Note: For this example, no template has been used and you are able to tie in the holes in any order or pattern that you select.
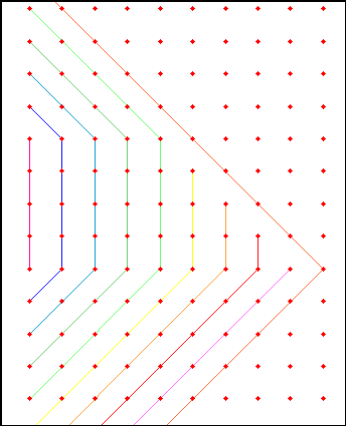
Note: The holes for each row are selected by clicking on the end points of the row, and then pressing ESC.
Note: After you have finished a tie in row, press ESC. You will be prompted to start the next row. When you have completed all rows in the firing sequence, press ESC twice to finish.
Note: To see all of the steps performed in this task, run macro 03c_custom_pattern.tcl. You need to click Apply on any forms presented.