


Creating a blast boundary and blast solid
Task: Unload a blast pattern from the blast database
- Click Reset graphics
 .
. - Open bench960_950.str in Graphics.
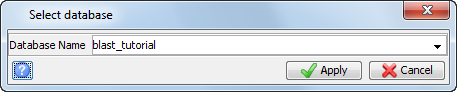
- Choose Database > Download blast holes from database.
- Enter the information as shown, and click Apply.
- Enter the information as shown, and click Apply.
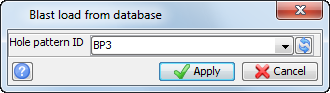
The blast holes are displayed.
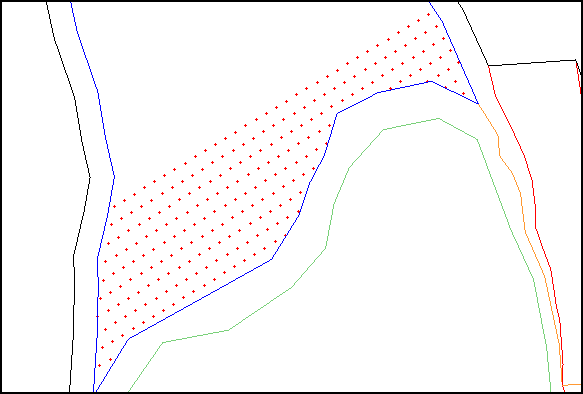
Task: Create blast boundary string
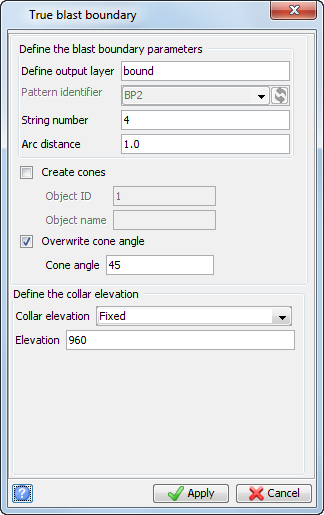
- Choose Blast Design > Create blast boundary string.
- Enter the information as shown, and then click Apply.
- Choose Blast design > Clip blast boundary by crest string.
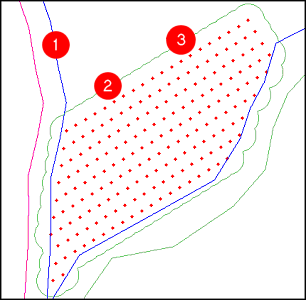
- Follow the prompts to clip the blast boundary:
- (1) Select the crest segment of the free face to clip with.
- (2) Select the true blast boundary segment.
- (3) Select a point which lies on a part of the blast boundary to retain.
The blast boundaries are displayed (this can take a while to process, look for the progress feedback in the bottom right of the Status bar).
Create Blast Solid
Task: Create blast solid
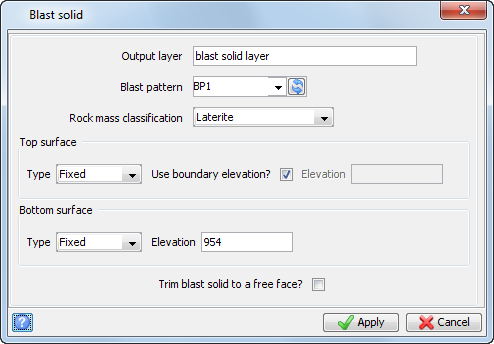
- Choose Blast design > Create a blast solid.
- Enter the information as shown, and click Apply.
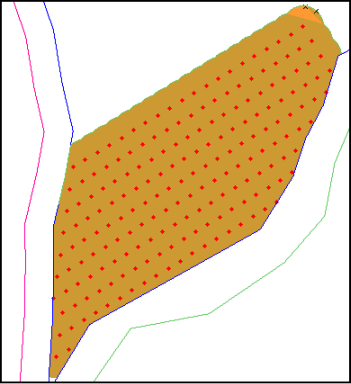
- Click on the blast boundary.
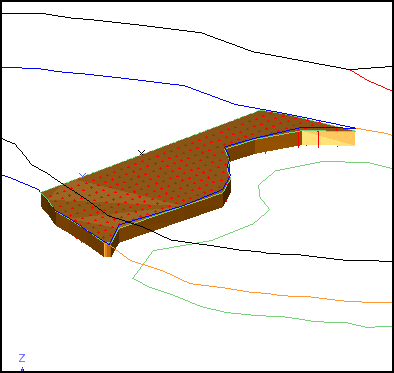
- Rotate the data to see how the solid is formed.
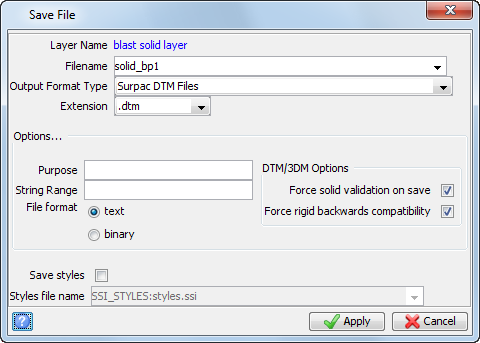
- Choose File > Save > string/DTM.
- Enter the information as shown, and click Apply.
You are prompted to Select the true blast boundary segment.
The blast solid is displayed.
 Note: To see all of the steps performed in this task, run
04_blast_boundary_&_solid.tcl. You need to click
Apply on any forms presented.
Note: To see all of the steps performed in this task, run
04_blast_boundary_&_solid.tcl. You need to click
Apply on any forms presented.