Blast database concepts
Task: Examine tables and fields in a drill and blast database
The tables and fields for a drill and blast database are as shown:
|
TABLES |
Collar |
Survey |
Translation |
Sample |
Styles |
Charging |
|
FIELDS |
hole_id |
hole_id |
table_name |
hole_id |
code |
hole_id |
|
|
y |
depth |
field_name |
samp_id |
field_name |
samp_id |
|
|
x |
dip |
code |
depth_from |
from_value |
depth_from |
|
|
z |
azimuth |
num_equiv |
depth_to |
graphics_colour |
depth_to |
|
|
max_depth |
|
description |
|
graphics_pattern |
explosive |
|
|
hole_path |
|
|
|
line_colour |
detonator |
|
|
blast_pattern |
|
|
|
line_style |
delay |
|
|
blasting_method |
|
|
|
line_weight |
booster |
|
|
delay |
|
|
|
marker_size |
det_position |
|
|
drill_rig |
|
|
|
marker_style |
Num_of_ boosters |
|
|
ground_water_level |
|
|
|
plotting_colour |
Num_of dets |
|
|
hole_diameter |
|
|
|
plotting_pattern |
|
|
|
rock_class |
|
|
|
style_type |
|
|
|
subdrill |
|
|
|
table_name |
|
|
|
surface_delay |
|
|
|
to_value |
|
Task: Create a new drill and blast database
- Click Reset graphics
 .
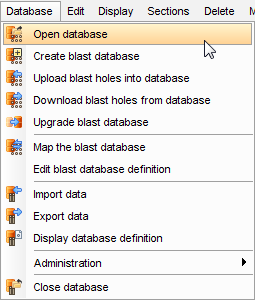
. - Choose Database > Close database.
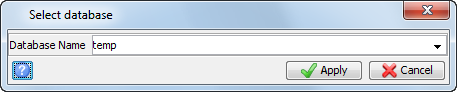
- Choose Database > Open database.
- Enter the information as shown, and click Apply.
- Click Apply.
- Enter the information as shown, and click Apply.
- Enter the information as shown, and click Apply.
- Click Apply.
- Choose Database > Close database to disconnect from the database.
 Note: Make sure you are using the blastdesign Database menu, and not the Geological Database menu.
The Create definition for new database form appears, showing the name and location of the new database.
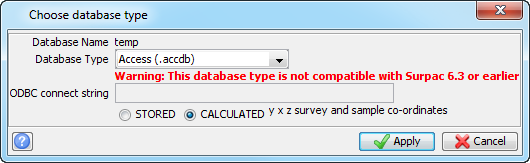
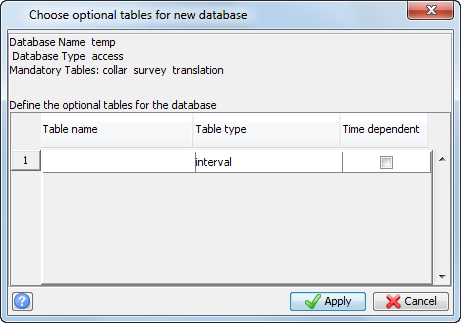
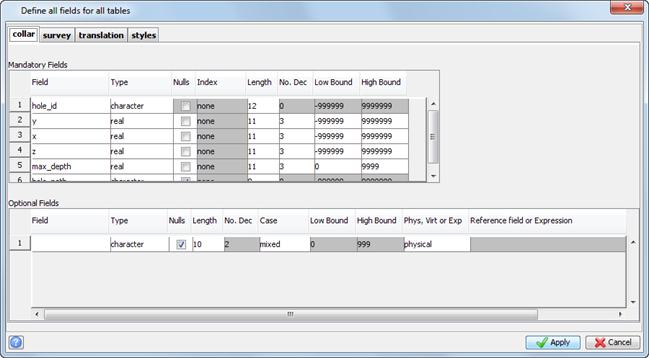
A database is created and the connection to the database is displayed in the Status bar.

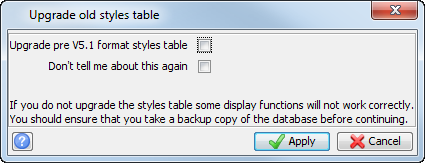
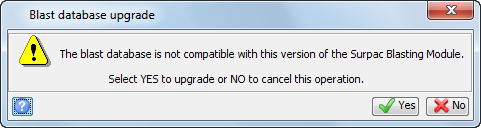
Task: Upgrade a Surpac v5.0 blast database
- Choose Database > Upgrade blast database.
- Enter the information as shown, and click Apply.
- Click Apply and then Yes.
Note: Make sure you are using the blastdesign Database menu and not the Geological Database menu.