Creating calculated attributes
Task: Create calculated attributes
It is possible to create attributes, in the Surpac block model, that are calculated from the values of other attributes, or from standard values. These attributes, called calculated attributes, are very powerful tools for generating reportable values. They do not increase the memory allocation needed for the block model.
- Connect to training2.mdl.
- Choose Block Model > Display.
- Enter the information as shown, and click Apply.
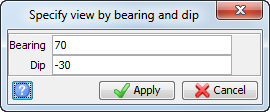
- Choose View > Data view options > View by bearing and dip.
- Enter the information as shown, and click Apply.
- Choose View > Zoom > Out.
- Choose Constraints > New graphical constraint.
- Enter the information as shown, and click Apply.
- Choose Display > Colour model by attribute.
- Enter the information as shown, click Refresh, and then click Apply.
- Choose Attributes > New.
- Enter the information as shown, and click Apply.
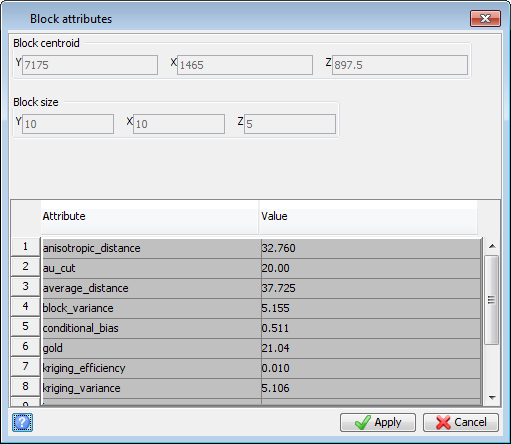
- Choose Display > View attributes for one block.
- Click a few blocks from the upper range to see that the top value for au_cut is now limited to 20.
- Choose Block model > Save.
- Choose Block Model > Close.
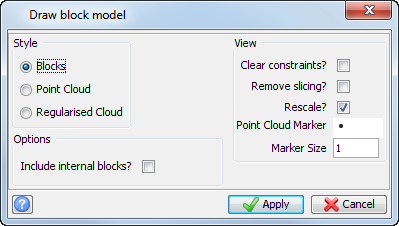
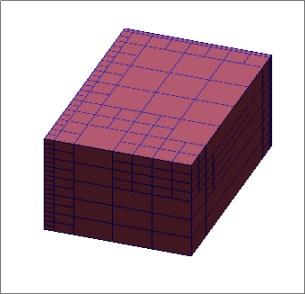
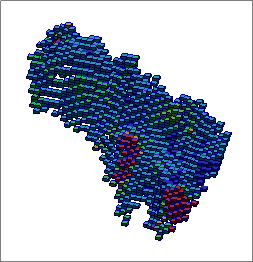
The block model is displayed.
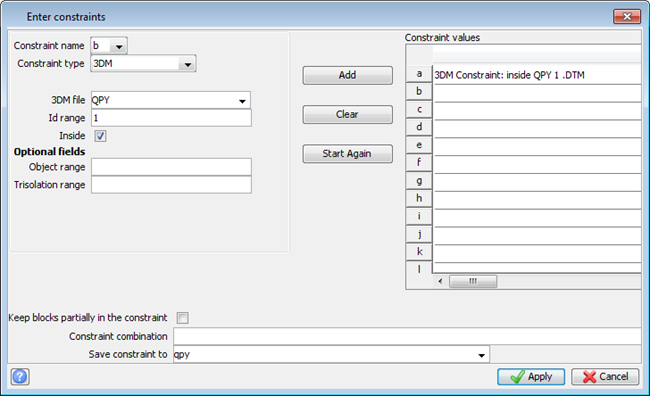
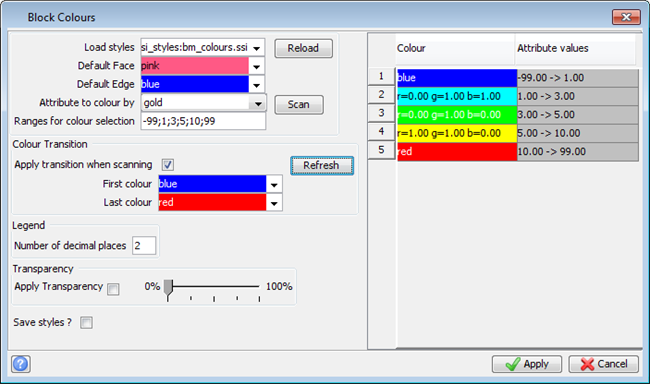
The constrained and coloured block model for the QPY zone is displayed.
You will add a new calculated attribute and in the expression field, entering the mathematical formula for calculating the cut grade.
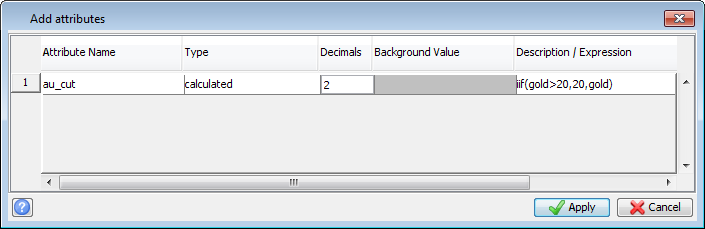
 Note: To create a calculated top cut, the expression is
 iif(gold>20,20,gold) which means that if gold is greater than 20, then make gold 20, else the gold value remains as the existing value of gold.
The new attribute is created.