


Data-centric Tools
Most tools within Surpac are function-centric - you first select a function, and then specify the data to be used by the function. For non-graphical operations, this is an efficient means of processing data. The function-centric mode is the default graphics mode when Surpac is started.
However, the most efficient way of performing most graphical operations is to select some data first, then perform an operation on it. This is known as a data-centric operation.
There are four data-centric tools:
All of these tools are available on the Tools toolbar: 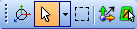 .
.
Orbit view tool
The Orbit view tool is a function-centric tool.
To change the graphics mode from data-centric mode to function-centric mode:
- click the Orbit view tool icon
 , or
, or - press the ESC key one or more times.
Select tool
You can select one or more data items (points, segments, strings, triangles, trisolations, and objects) with this function. Once you activate a select mode, graphical data will be highlighted as you move the cursor over them. You then simply click to select a highlighted item. You can then delete it with the Delete key on your keyboard, or right-click, and choose an option from a pop-up menu.
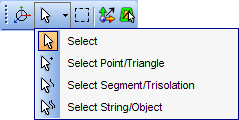
There are four data selection modes available within the Select tool combination icon:
|
Use: |
To select: |
|---|---|
 Select Select |
points or segments or triangles* |
 Select Point/Triangle Select Point/Triangle |
points or triangles |
|
|
segments or trisolations |
|
|
strings or objects |
 Select Segment/Trisolation
 Select String/Object
*For string data, the Select mode is a combination of the point and segment selection. When the cursor is between two points on a segment, the segment will be selected. When the cursor is near a point, the point will be selected. For triangle data, this mode is the same as triangle selection. The Select mode is often the most efficient means of performing string editing.
To set a selection mode:
- click the dropdown arrow
 on the select tool combination icon , and then choose the mode from the menu, or:
 - click the icon on the select tool combination icon multiple times to cycle through all of the modes.
After selecting the mode, you can use the tool:
|
To: |
Do this: |
|---|---|
| Select one item | Move the cursor to highlight an item, and then click once. |
| Select multiple items |
|
| Unselect one item |
|
| Unselect all |
|
In all of these selection modes, you can rotate, pan, and zoom by clicking and holding down the appropriate mouse key.
Once data has been selected, you can:
- right click to display a pop-up menu of options, or
- press the Delete key to delete the item, or
- invoke an appropriate* function
*Note: Only functions which are appropriate for the data selected can be performed. If a function is not appropriate for the type of selected data, an informational message will be displayed.
Box point selection tool
You can select one or more points or triangles with this function by clicking and dragging a box to encompass the data. You can then delete the data with the Delete key on your keyboard, or right-click, and choose an option from a pop-up menu.
To invoke the box selection tool, click the Box selection icon:  .
.
You can then use the tool:
|
To: |
Do this: |
|---|---|
| Select one point or triangle | Move the cursor to highlight one point or triangle, and then click once. |
| Select multiple points or triangles |
|
| Unselect one point or triangle |
|
| Unselect all |
|
Note: When this function is activated, the graphics view is frozen. Rotate, pan, and zoom options are available when the function is terminated.
Once point or triangles have been selected, you can:
- right click to display a pop-up menu of options*, or
- press the Delete key to delete the item, or
- invoke an appropriate** function
*One of the pop-up menu options will allow you to select all segments, strings, trisolations, or objects associated with the previously selected points or triangles.
**Note: Only functions which are appropriate for the data selected can be performed. If a function is not appropriate for the type of selected data, an informational message will be displayed.
Move tool
You can move or copy data with this function:
- along an axis.
- in an orthogonal plane.
- in the current view plane.
To use the move tool, you can either:
- select some data using the Select tool or the Box point selection tool, and then move or copy it, or
- if no data is selected when the Move tool is activated, the select tool mode will be activated to allow you to select some data.
To invoke the move tool, click the Move tool icon:  .
.
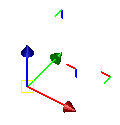
After selecting some data, the Move tool axes will appear:
You can then use the tool:
|
To: |
Do this: |
|---|---|
| move data along an axis | Move the cursor until one of the axes (X, Y, or Z) is highlighted, and then click and drag. |
| move data in an orthogonal plane | Move the cursor until one of the plane corner markers (XY, YZ, or XZ) is highlighted, and then click and drag. |
| move data in the current plane |
Move the cursor within the square at the origin of the axes (X, Y, or Z), and then click and drag. |
| copy data along an axis |
|
| copy data in an orthogonal plane |
|
| copy data in the current plane |
|
You can move points, segments, or strings by fixed angle and distance increments by setting the snap mode to Drafting.
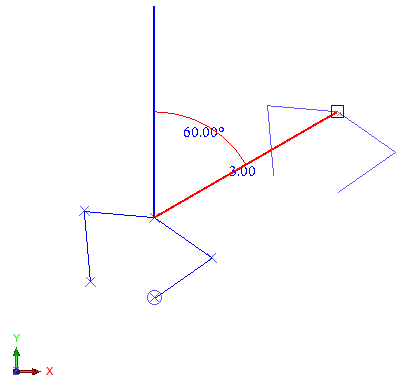
When you use snap to drafting, the angle and distance snap increments are set in the Tool properties pane. The move tool then moves data to the nearest increment. You can customise the settings of the drafting tool on the Settings form, accessed by choosing Customise > Default preferences > Graphics > Tool Settings > Drafting Mode Settings.
 Note: When the move tool is activated, you can rotate, pan, and zoom by clicking and holding down the appropriate mouse key at a location away from any data, and away from the move tool axes.
Triangulate shape tool
To invoke the Triangulate Shape tool, click the Triangulate Shape tool icon.
Click the tool properties tab to view or change the object number, trisolation number, and object name to be created.
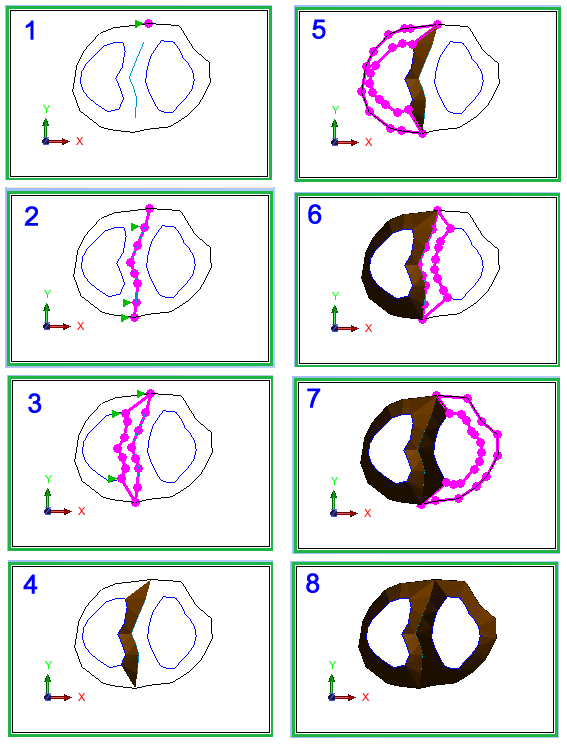
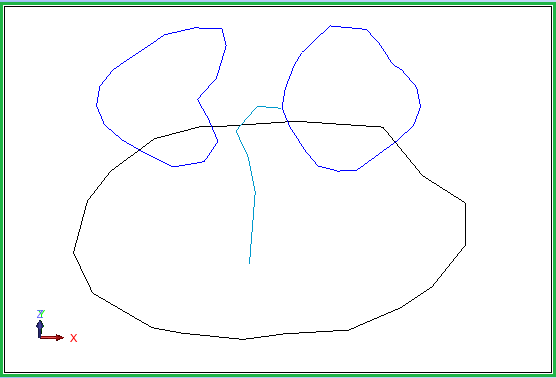
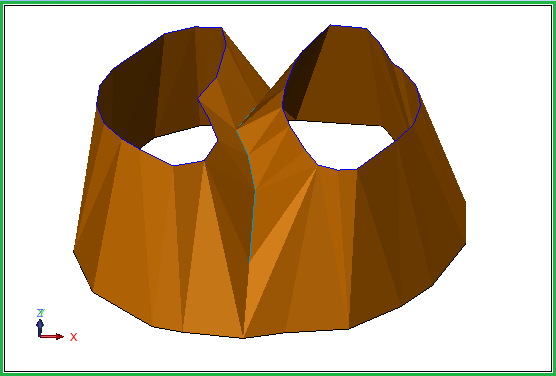
To create triangles, click a series of points (as shown below by the green arrows) to create a closed region. If you select two points on the same segment, all points between are included. The start point must be clicked again at the end to close the region.
Note: When the Triangulate Shape tool is activated, you can rotate, pan, and zoom by clicking and holding down the appropriate mouse key.