Migrating a database from Access to SQL Server
This procedure is useful if you want to create a Surpac database that Surpac 64-bit users can connect to while using Surpac 64-bit.
This solution might be suitable if you already have a corporate database management system (for example, SQL Server ™ or Oracle ™), and either a database administrator (DBA) or someone who can fulfill the role of a database administrator. If more than one person will use the database you also need a domain network so that others on the domain can connect to the database.
 Note: These steps show how to migrate a Microsoft Access ™ database using Microsoft SQL Server 2008 R2 32-bit, and Windows 7 32-bit.
The interface may appear slightly different if you have a different version of SQL Server.
Note: These steps show how to migrate a Microsoft Access ™ database using Microsoft SQL Server 2008 R2 32-bit, and Windows 7 32-bit.
The interface may appear slightly different if you have a different version of SQL Server.
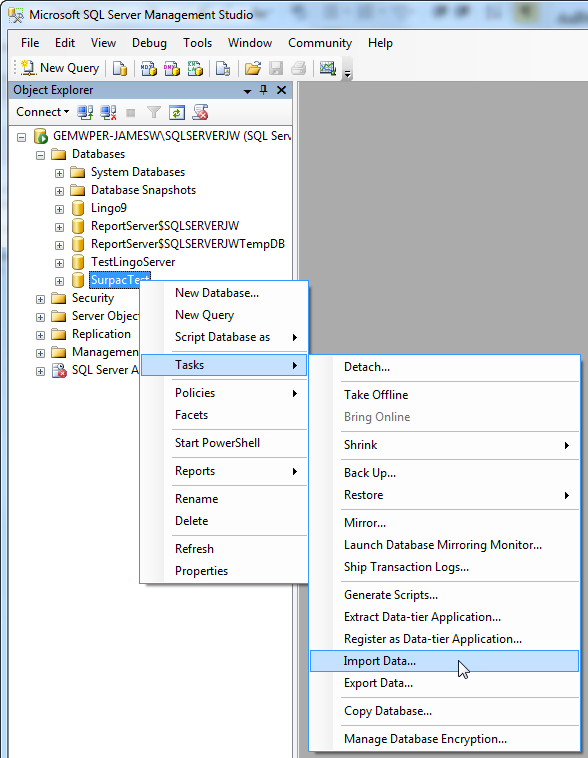
- On the computer that will host the SQL Server database, start SQL Server Management Studio and, when prompted, connect to the database server.
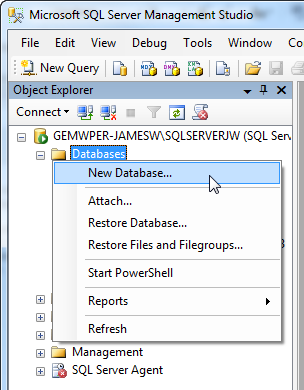
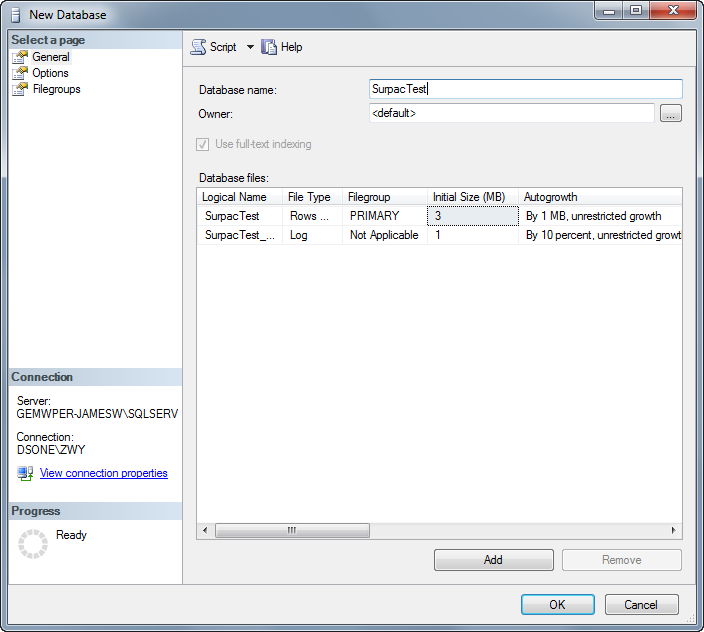
- Create a new database.
- For the new database, select Import data.
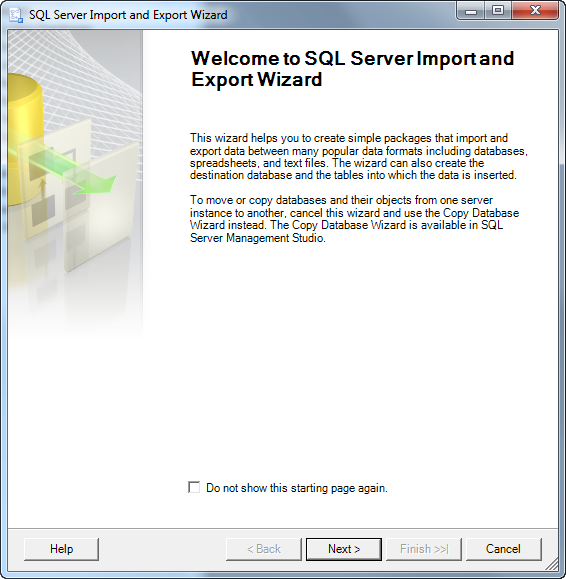
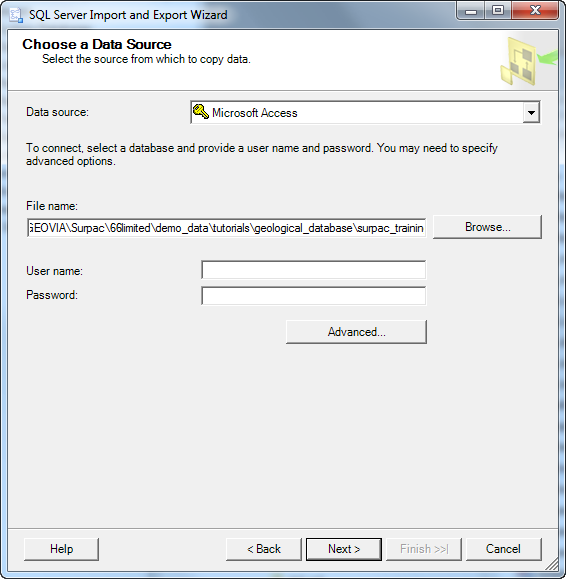
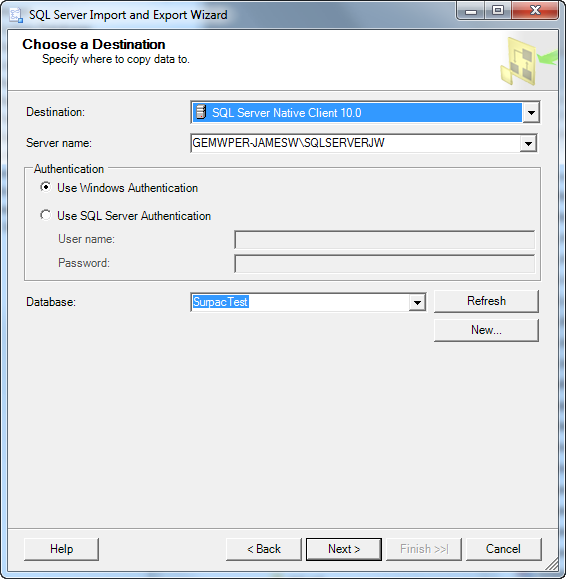
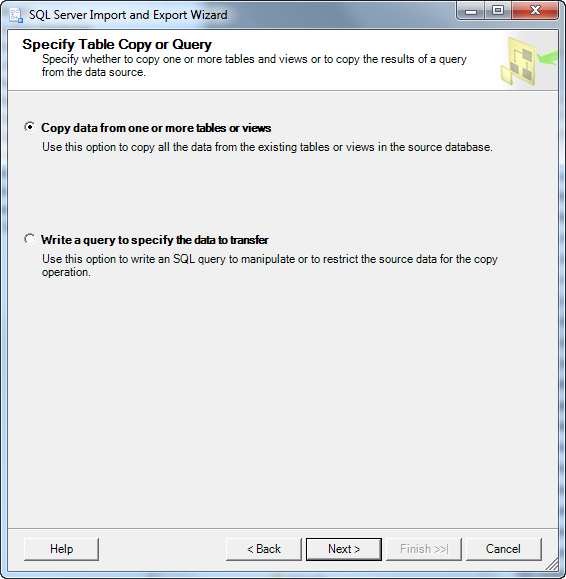
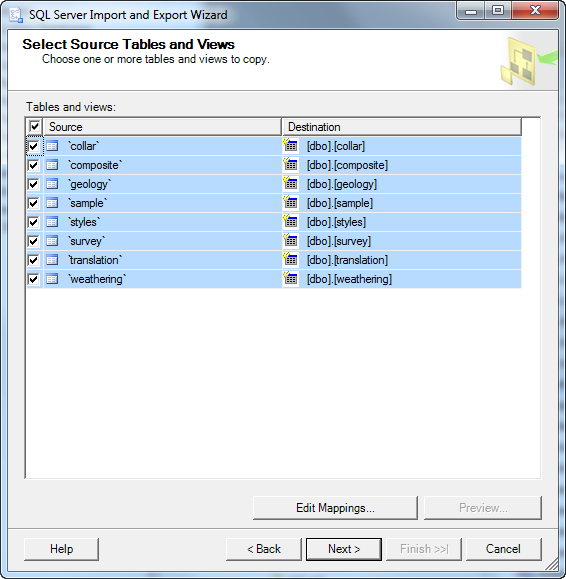
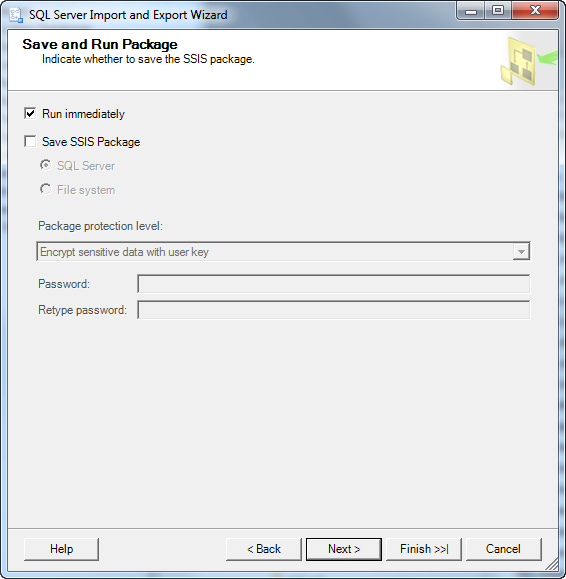
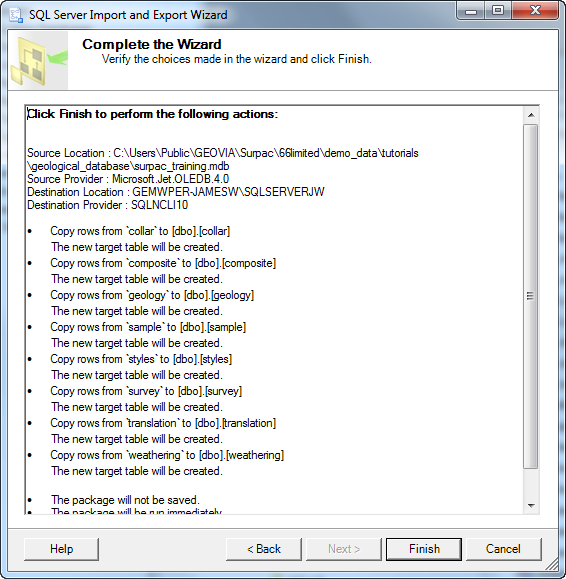
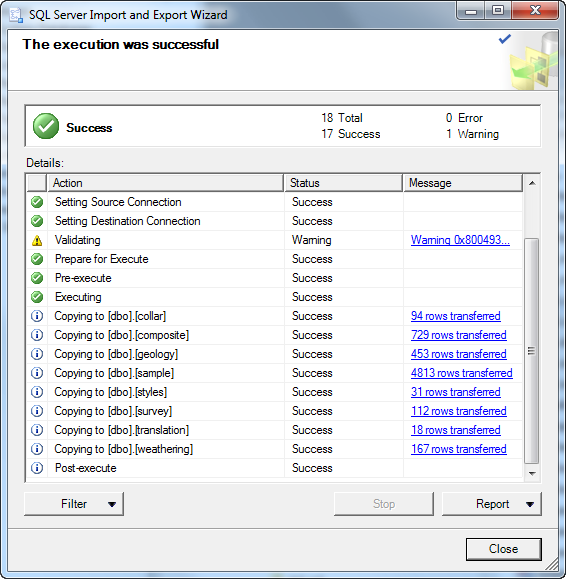
- Follow the steps in the wizard to import the data from Access to SQL Server.
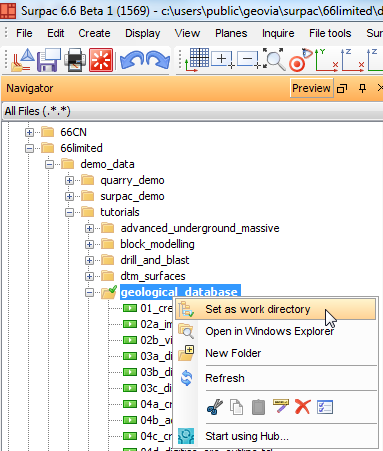
- On the computer running Surpac, in Surpac set the working directory to the directory where you want to store the .ddb file.
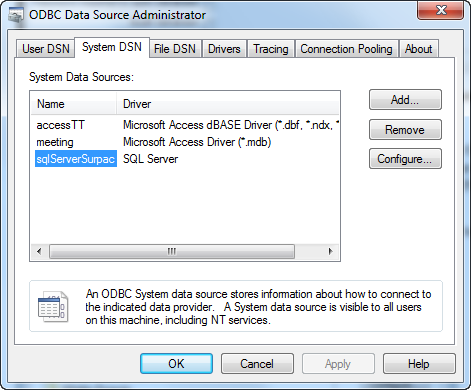
- On a 64-bit computer, there is a 32-bit ODBC Data Source Administrator, and a 64-bit ODBC Data Source Administrator. If you are using 64-bit Surpac, click the Start button, and type ODBC to access the 64-bit ODBC Data Source Administrator, which is the one you need to connect 64-bit Surpac to the SQL Server database.
- When setting up the data source, the DBA should set the data source to connect to your database not the master database, which is the default setting.
- In Surpac, map the SQL Server database
- Run the DB MAPPER function.
- Select Database Type: ODBC.
- Select the ODBC data source for SQL Server, select Audit database, and click Next.
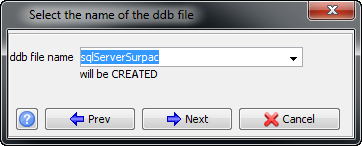
- Type a name for the .ddb file, and click Next.
- Clear Views, and Synonyms, and click Refresh tree view to hide the views and synonyms and show only the tables.
- Expand the Source database tables, and the Surpac database tables.
- For any Surpac database table or field that shows an asterisk, drag the corresponding table or field from the Source database section to it.
- Click Finish.
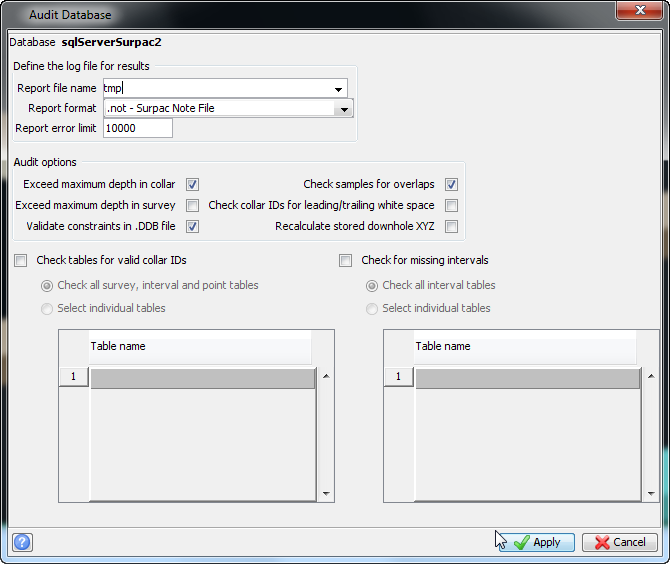
- In the Audit Database form, type a name for the report file, and click Apply.
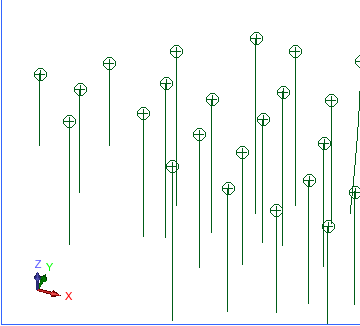
- Test that the database is mapped and loaded correctly by displaying some drillholes.
For the connection to work, your DBA, or the person fulfilling that role, must make sure you have SQL Server ODBC drivers available on your computer, and the DBA must set up a SQL Server data source. The data source can be a User or System DSN. If the data source is a User DSN, only a single user on the computer can connect to the database.
Notes:
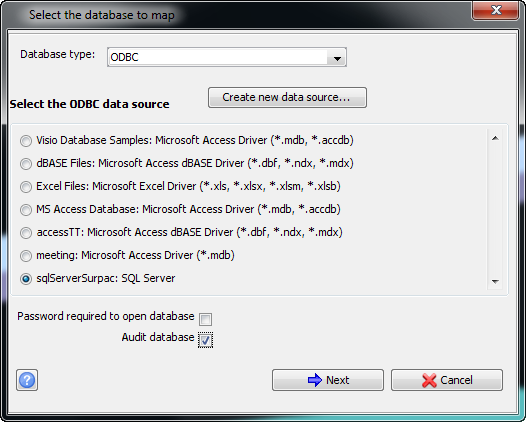
Note: If the data source does not already exist, and you click Create new data source to create one, in some circumstances this form does not list the new data source immediately. If the data source is not listed, click Cancel, and run DB MAPPER again.
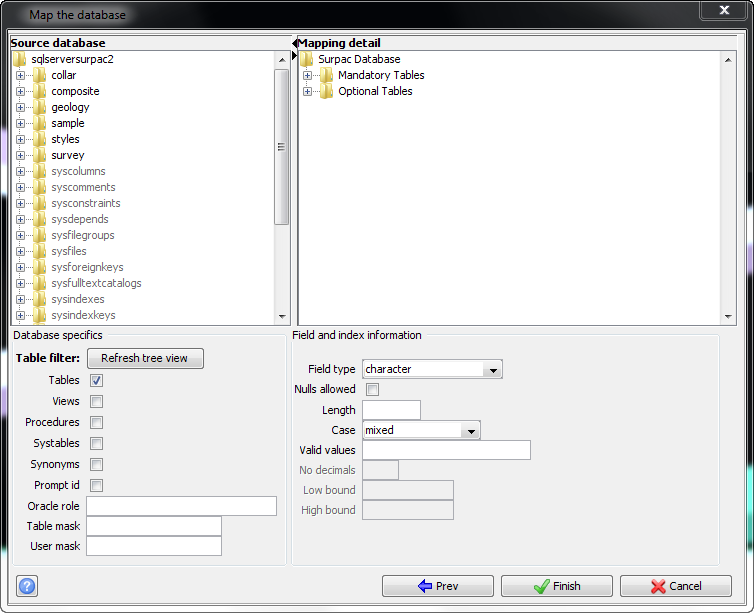
The surpac_training database already contained all the mandatory tables and fields, and the tables and fields are the same, so they have been mapped correctly from the Source database (that is the SQL Server database) to the Surpac database. Your database might have tables or fields that are named differently and, if so, you should map them correctly from the Source database to the Surpac database.
Any tables or fields that are not mapped show an asterisk (*).
Note: The y, x, z, y_from, x_from, z_from, y_to, x_to, and z_to fields show asterisks. These are calculated fields for which there is no mappable field, so do not map these.
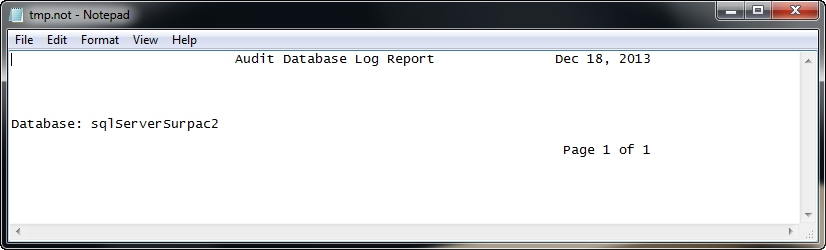
The .ddb file is opened in Surpac.